
Creating a new MPLAB Xpress project
This tutorial will lead you through the steps required to create the first Introductory Activity programming project for either the CHRP4 or UBMP4 circuit using Microchip’s MPLAB® Xpress cloud-based IDE.
While creating a project using this type of step-by-step approach takes more time and effort than simply cloning the project from its GitHub repository, having an understanding the steps involved in creating a project will be helpful when you are ready to create your first project for new circuit or future program.
For more information on the MPLAB Xpress cloud-based IDE and how it compares with MPLAB X, or for information about cloning a GitHub project into MPLAB Xpress, refer to our getting started with MPLAB Xpress page.
Cloud-based software development
The cloud-based MPLAB Xpress IDE is a new addition to Microchip’s traditional desktop MPLAB X IDE software, and it mimics the main features of MPLAB X from inside a web browser. MPLAB Xpress enables anyone using older, under-powered, or storage-limited computer systems, and especially education users limited to using Chromebooks, to create, edit, and compile microcontroller programs in the cloud using up-to-date tools using nothing more than their web browser.
Can MPLAB Xpress program microcontrollers?
MPLAB Xpress can support Microchip’s latest PICkit 4 and PICkit 5 hardware programmers on Windows and macOS computers, and works well with microcontrollers supporting bootloaders on all devices. While MPLAB Xprress is more limited than its MPLAB X desktop counterpart in programming and debugging, its capabilities keep improving and it has matured into a viable solution for creating and maintaining simple programs used in small microcontrollers – like those used in the mirobo introductory projects.
Where are MPLAB Xpress projects stored?
Projects are temporarily stored in Microchip’s cloud sandbox, but MPLAB Xpress users should ideally use their own GitHub account to have a permanent cloud-based storage solution that integrates nicely with the MPLAB Xpress cloud-based IDE. MPLAB Xpress can also import and export projects in the MPLAB X project structure. While this is a useful capability, bouncing programs between MPLAB X and MPLAB Xpress doesn’t provide the same benefits that a fully end-to-end cloud-based solution does.
Before starting to use MPLAB Xpress, you will need to create a myMicrochip cloud account. This can be done from the MPLAB Xpress log in page in the upcoming steps.
Ready to go? Let’s start building your first MPLAB Xpress project!
Step 1 - Download the project files
This tutorial will demonstrate how to create and build the Introductory Activity 1 programming project for either the CHRP4 or UBMP4 circuit. Download the project files for your circuit below, or obtain the source files for any other project you would like to use to build in MPLAB Xpress:
Download the CHRP4 Introductory Activity 1 - Input and Output project files for the CHRP4 circuit.
Download the UBMP4 Introductory Activity 1 - Input and Output project files for the UBMP4 circuit.
Un-zip the downloaded archive to reveal the four source code files for the introductory project. The archive contains three source code files ending with a .c file extension, and one header file ending with a .h file extension.

The contents of the CHRP4 Introductory Activity 1 archive showing the four files.
Important: You will need to be able to copy and paste the source code from these files into MPLAB Xpress in a later step, so make sure you can open each of them in a text editor on your computer. Use Quick Look in macOS, or try to drag and drop the files into a text editor to open them in other operating systems. If you are having difficulty, try changing the file extension of each of the files to .txt which should enable each of the files to be opened in the system text editor by just double-clicking on each of them.
Programming Terms
IDE (Integrated Development Environment) - software used to manage all the files in programming projects, compile programs, and download the programs into microcontrollers.
Source code files - one or more human-written files making up a computer program.
Project - a collection of source code files, IDE configuration files, and output files making up a program.
Compiler - a computer program that converts program source code into processor-specific machine code, or an intermediate machine readable format.
Assembler - a computer program that converts low-level assembly language source code into processor-specific machine code.
Machine code - the processor-specific instructions that make up a program, encoded as binary data in the memory of a computer.
Object code - compiled source code in the form of machine-readable instructions representing all, or just parts, of a program.
Linker - a computer program that combines one or more object code files into a complete program.
Hex file - a file format representing the machine code instructions and their memory locations used by a hardware programmer to write the program into the memory of a microcontroller.
Programmer - a hardware device that can read and write the memory of a microcontroller to write and verify a program’s machine code instructions into its memory.
Bootloader - a software program running in a microcontroller that is capable of writing a user program into the memory of the microcontroller without over-writing itself.
Step 2 - Start MPLAB Xpress
Get started by opening the MPLAB Xpress Cloud-Based IDE web page. (Clicking this link will open it in a new browser window.)

Click the Get Started Now button on the page. If you are already logged into a myMicrochip account, MPLAB Xpress will start to open. Otherwise, you will end up at a page where you can sign-in or register for an account.
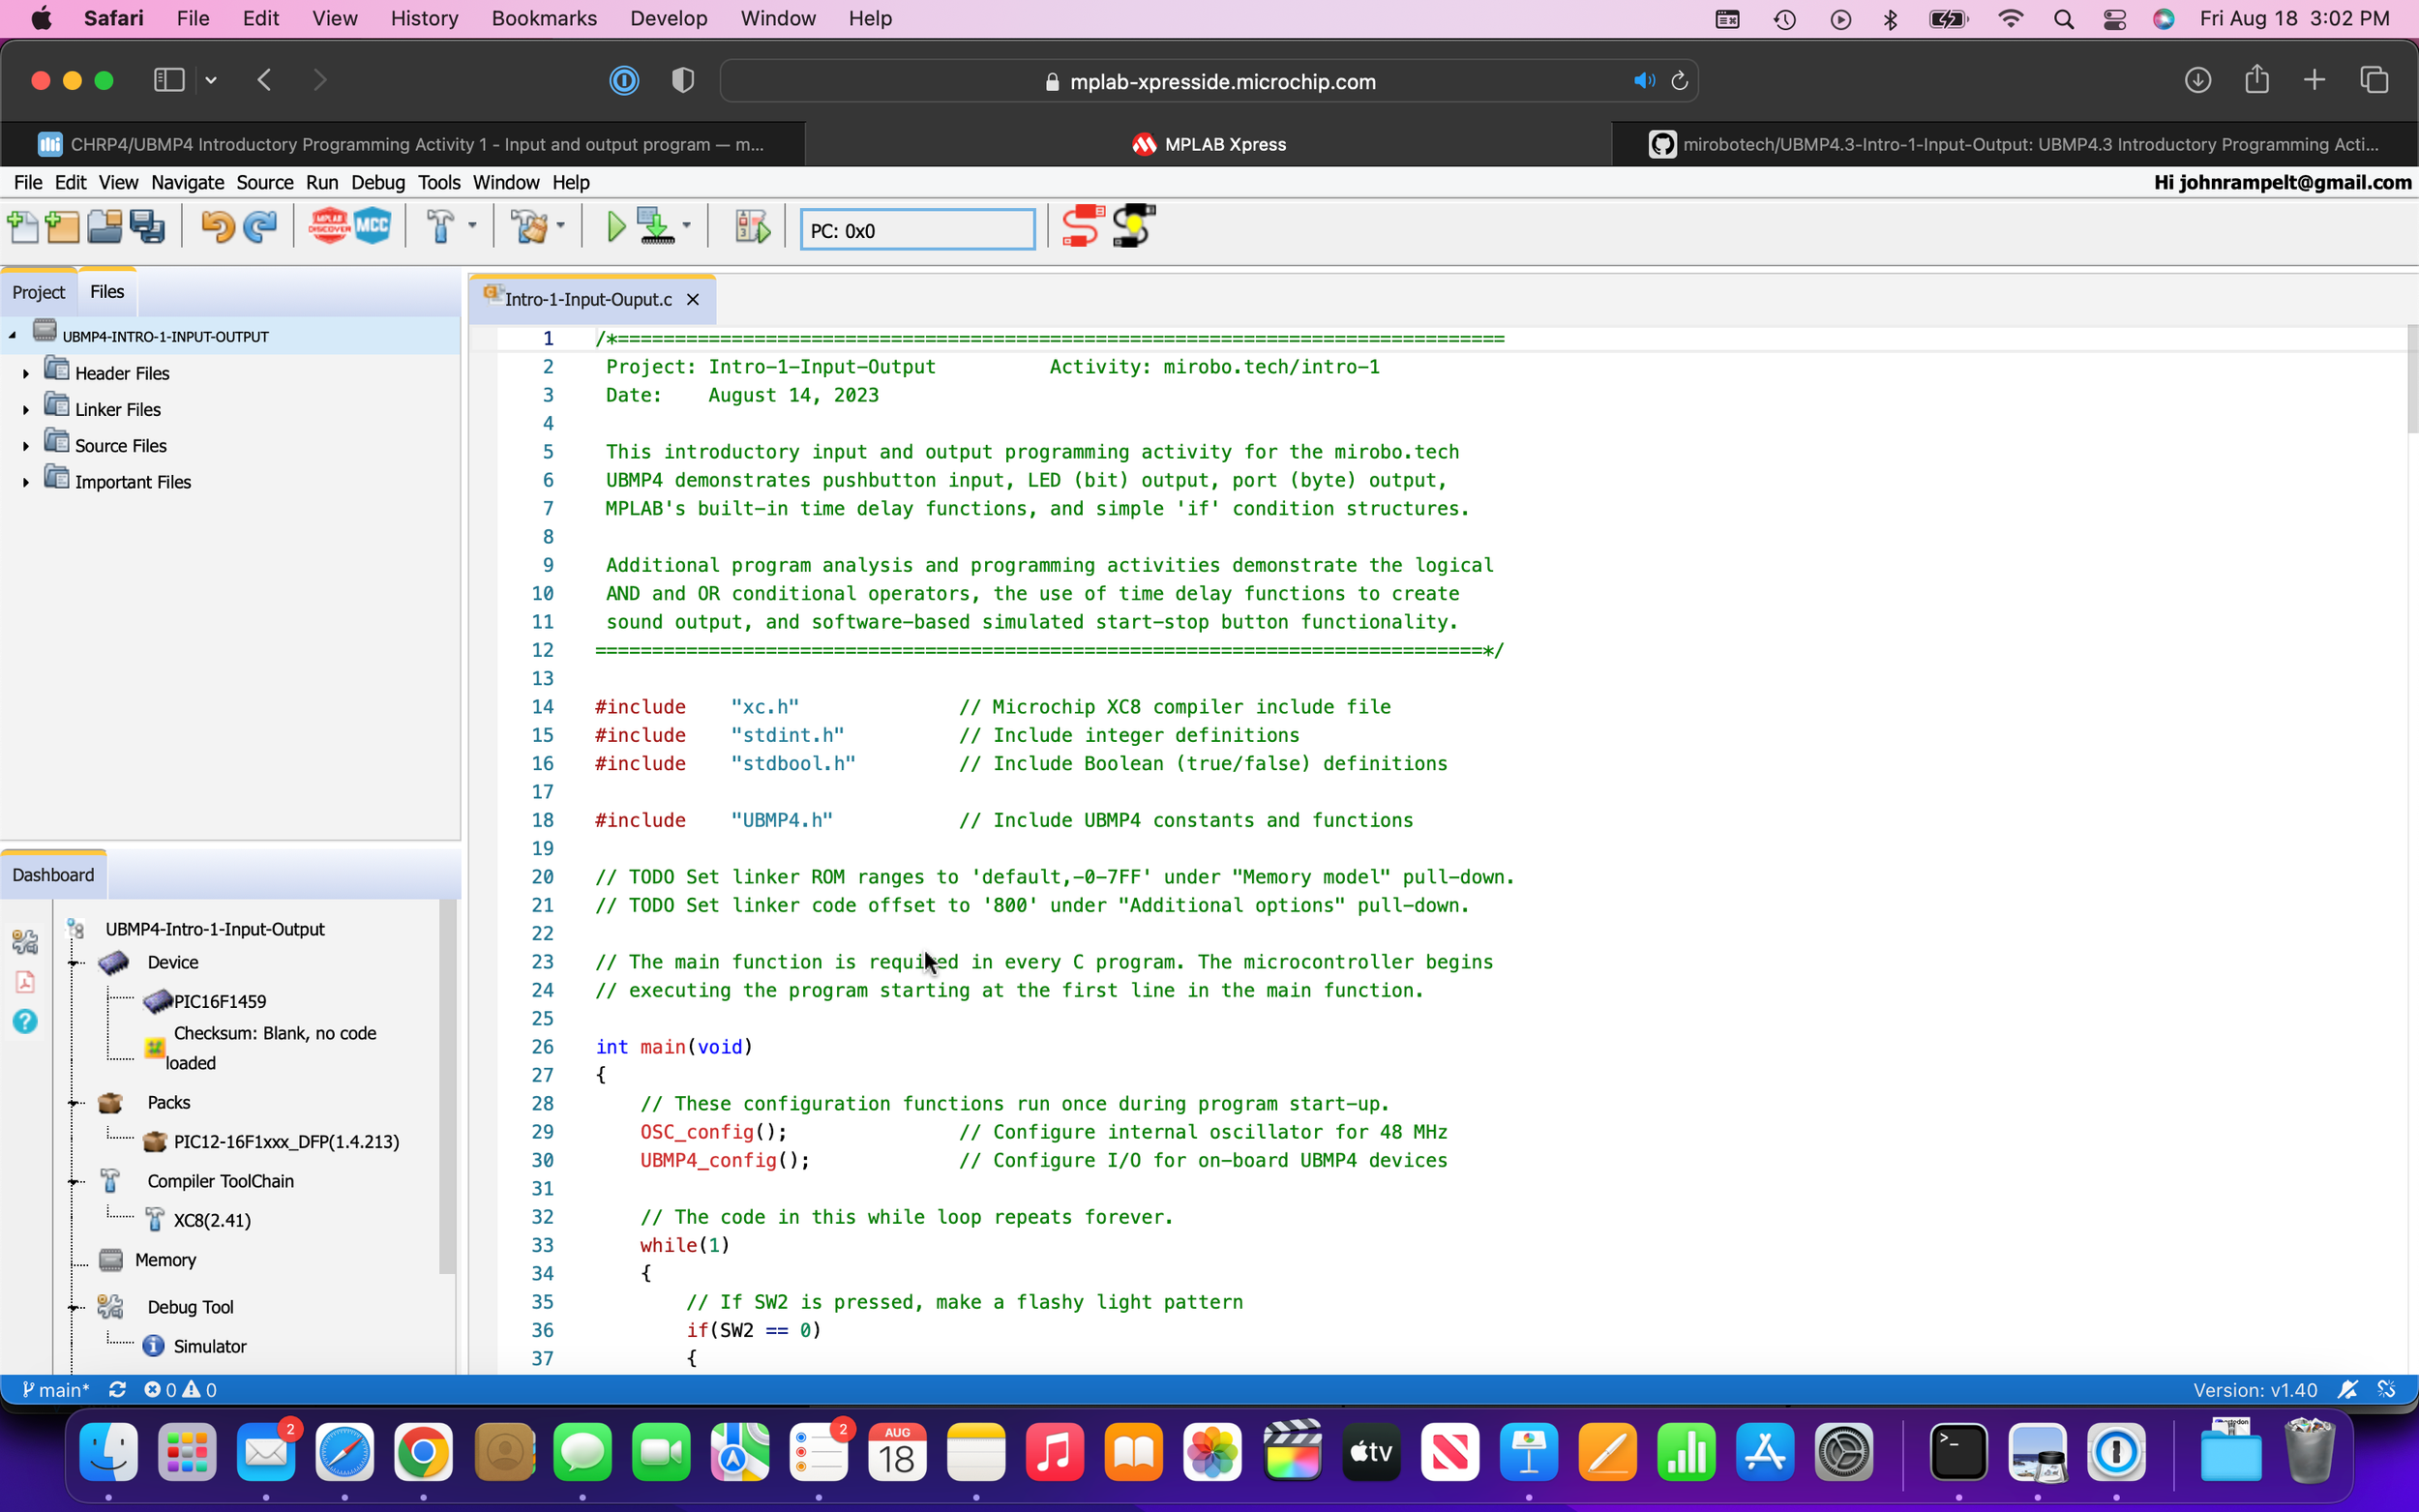
After signing in and launching MPLAB Xpress, it will start up in your web browser. It may take some time for MPLAB Xpress to open, as it needs to pre-load its code into the browser. When it opens, you should see an empty MPLAB Xpress project, as shown here:

Step 3 - Set up a new MPLAB Xpress project
These steps will configure the basic project settings in MPLAB Xpress. They mimic the same actions that would be used in the desktop MPLAB X IDE – so they will be familiar to anyone having previously used MPLAB X.
After MPLAB Xpress opens, click the New Project icon – the second one from the left in the toolbar. (It looks like a file folder with a plus sign.) Or, choose New Project from the File menu. The New Project dialogue box will open.
The only choice in the version of MPLAB Xpress used for these examples (current as of mid-2023) is to create a Standalone Project from the Microchip Embedded category. This matches one of the possible choices available in the desktop MPLAB X IDE. Click the Next button to continue.

Type PIC16F1459 into the Device: box to select the microcontroller used in both the CHRP4 and UBMP4 circuit boards, and click the Next button.

Give the project a name – the name Intro-1 is used here for shortness. Then, click Finish.

Notice the message that projects created in MPLAB Xpress will only remain in the Microchip cloud sandbox for three days. Projects must be exported from the cloud sandbox, or saved to a GitHub repository for longer term storage.
The new, empty project will open in MPLAB Xpress:

The Project browser tab at the top left of the screen shows a list of project file types, and the Dashboard panel below it shows the project settings.
Step 4 - Add the project files into MPLAB Xpress
The four project files that were downloaded in Step 1 now have to be added into MPLAB Xpress. They will be added by copying and pasting their contents into the code editor window in MPLAB Xpress, so make sure you can open the files in a text editor on your system.
Use the new file icon (the left-most icon in the toolbar that looks like a sheet of paper with a plus sign) to create a new project file. Or, select New File from the File menu to open the New File dialogue box.
To first create the header file for the project, leave the C Header File type selected, and click the Next button.

Enter the filename CHRP4 in the Name: field – MPLAB Xpress will add the .h file extension to this header file. Then click the Finish button.

The newly-created CHRP4.h file will open in a tab in the editor window. The file already contains a bit of header template code that will not be used by this project. Select all of the template code and delete it, since the code from the previously downloaded CHRP4.h header contains the entire contents of the header file.

Open the CHRP4.h file downloaded in step 1 in a text editor, and copy and paste all of the code from the downloaded file into the empty MPLAB Xpress editor window. It should look like this when you are finished:

A similar set of steps will be repeated to add the three .c source code files to the project.
Click the new file icon again (or select New File from the File menu) to open the New File dialogue box.
This time, choose C Source File from the File Types: options. Then, click Next.

Enter the name CHRP4 in the Name: field, and click Finish. Although this is exactly the same name as was given to the header file, this file will use a different .c extension than the header file, which uses a .h extension.

A new, empty code editor tab will open for the CHRP4.c file.
Open the previously downloaded CHRP4.c file in your text editor, and copy and paste all of its source code into the MPABX Xpress code editor. Both files can remain open – any of their changes will be saved in the cloud.

Repeat the previous steps to create a new C source code file for the PIC16F1459-config.c file.

Open the previously downloaded PIC16F1459-config.c file in your text editor, and copy and paste all of its code into the code editor in MPLAB Xpress.

Repeat the previous steps one last time to create a new main .c file. The File Type in the New File window can either be set as a C Main File or a C Source File – both will create a new .c file. The only difference is that the C Source File type creates an empty file, whereas the C Main File type adds a small amount of template code, just as MPLAB Xpress did with the header file. And, just as was done with the header file, this template code will have to be removed and replaced with the contents of the downloaded main project file.

Name the main file. We used the the name Intro-1 for this example, the same name as the project name, instead of the longer file name Intro-1-Input-Output.c given to the downloaded main program file.

If the file was created as a C Main File, the editor tab will open with a handful of lines of template code added. Select and delete all of this template code.

Open the downloaded Intro-1-Input-Output.c file in a text editor, and copy and paste all of its code into the code editor.

The source files have now all been imported into MPLAB Xpress, but they still have to be added to the new MPLAB Xpress project. We will do that after modifying the project linker settings.
Step 5 - Linker memory configuration
The next steps configure the linker settings in MPLAB Xpress to reserve some of the program memory inside the PIC16F1459 microcontroller for the USB µC bootloader. If your project does not use a bootloader, proceed to the next step to add the source files to the MPLAB Xpress project, followed by building the project.
The required bootloader settings are listed as TODO items (short for ‘to do’, or still to be done) in the Intro-1.c source code file. The ROM ranges setting on the first line is challenging to remember, so highlight the contents within the single quote marks and copy them. This will make it easy to paste these values into the project’s Linker settings.
To get to the Linker settings, start by clicking on the Project Properties icon in the project Dashboard panel – it looks like a wrench with a bolt and nut, and is the top-most icon at the left of the project Dashboard.

After the Project Properties window for the project opens, you will see a number of project configuration categories in the left panel, and the settings related to each category on the right.
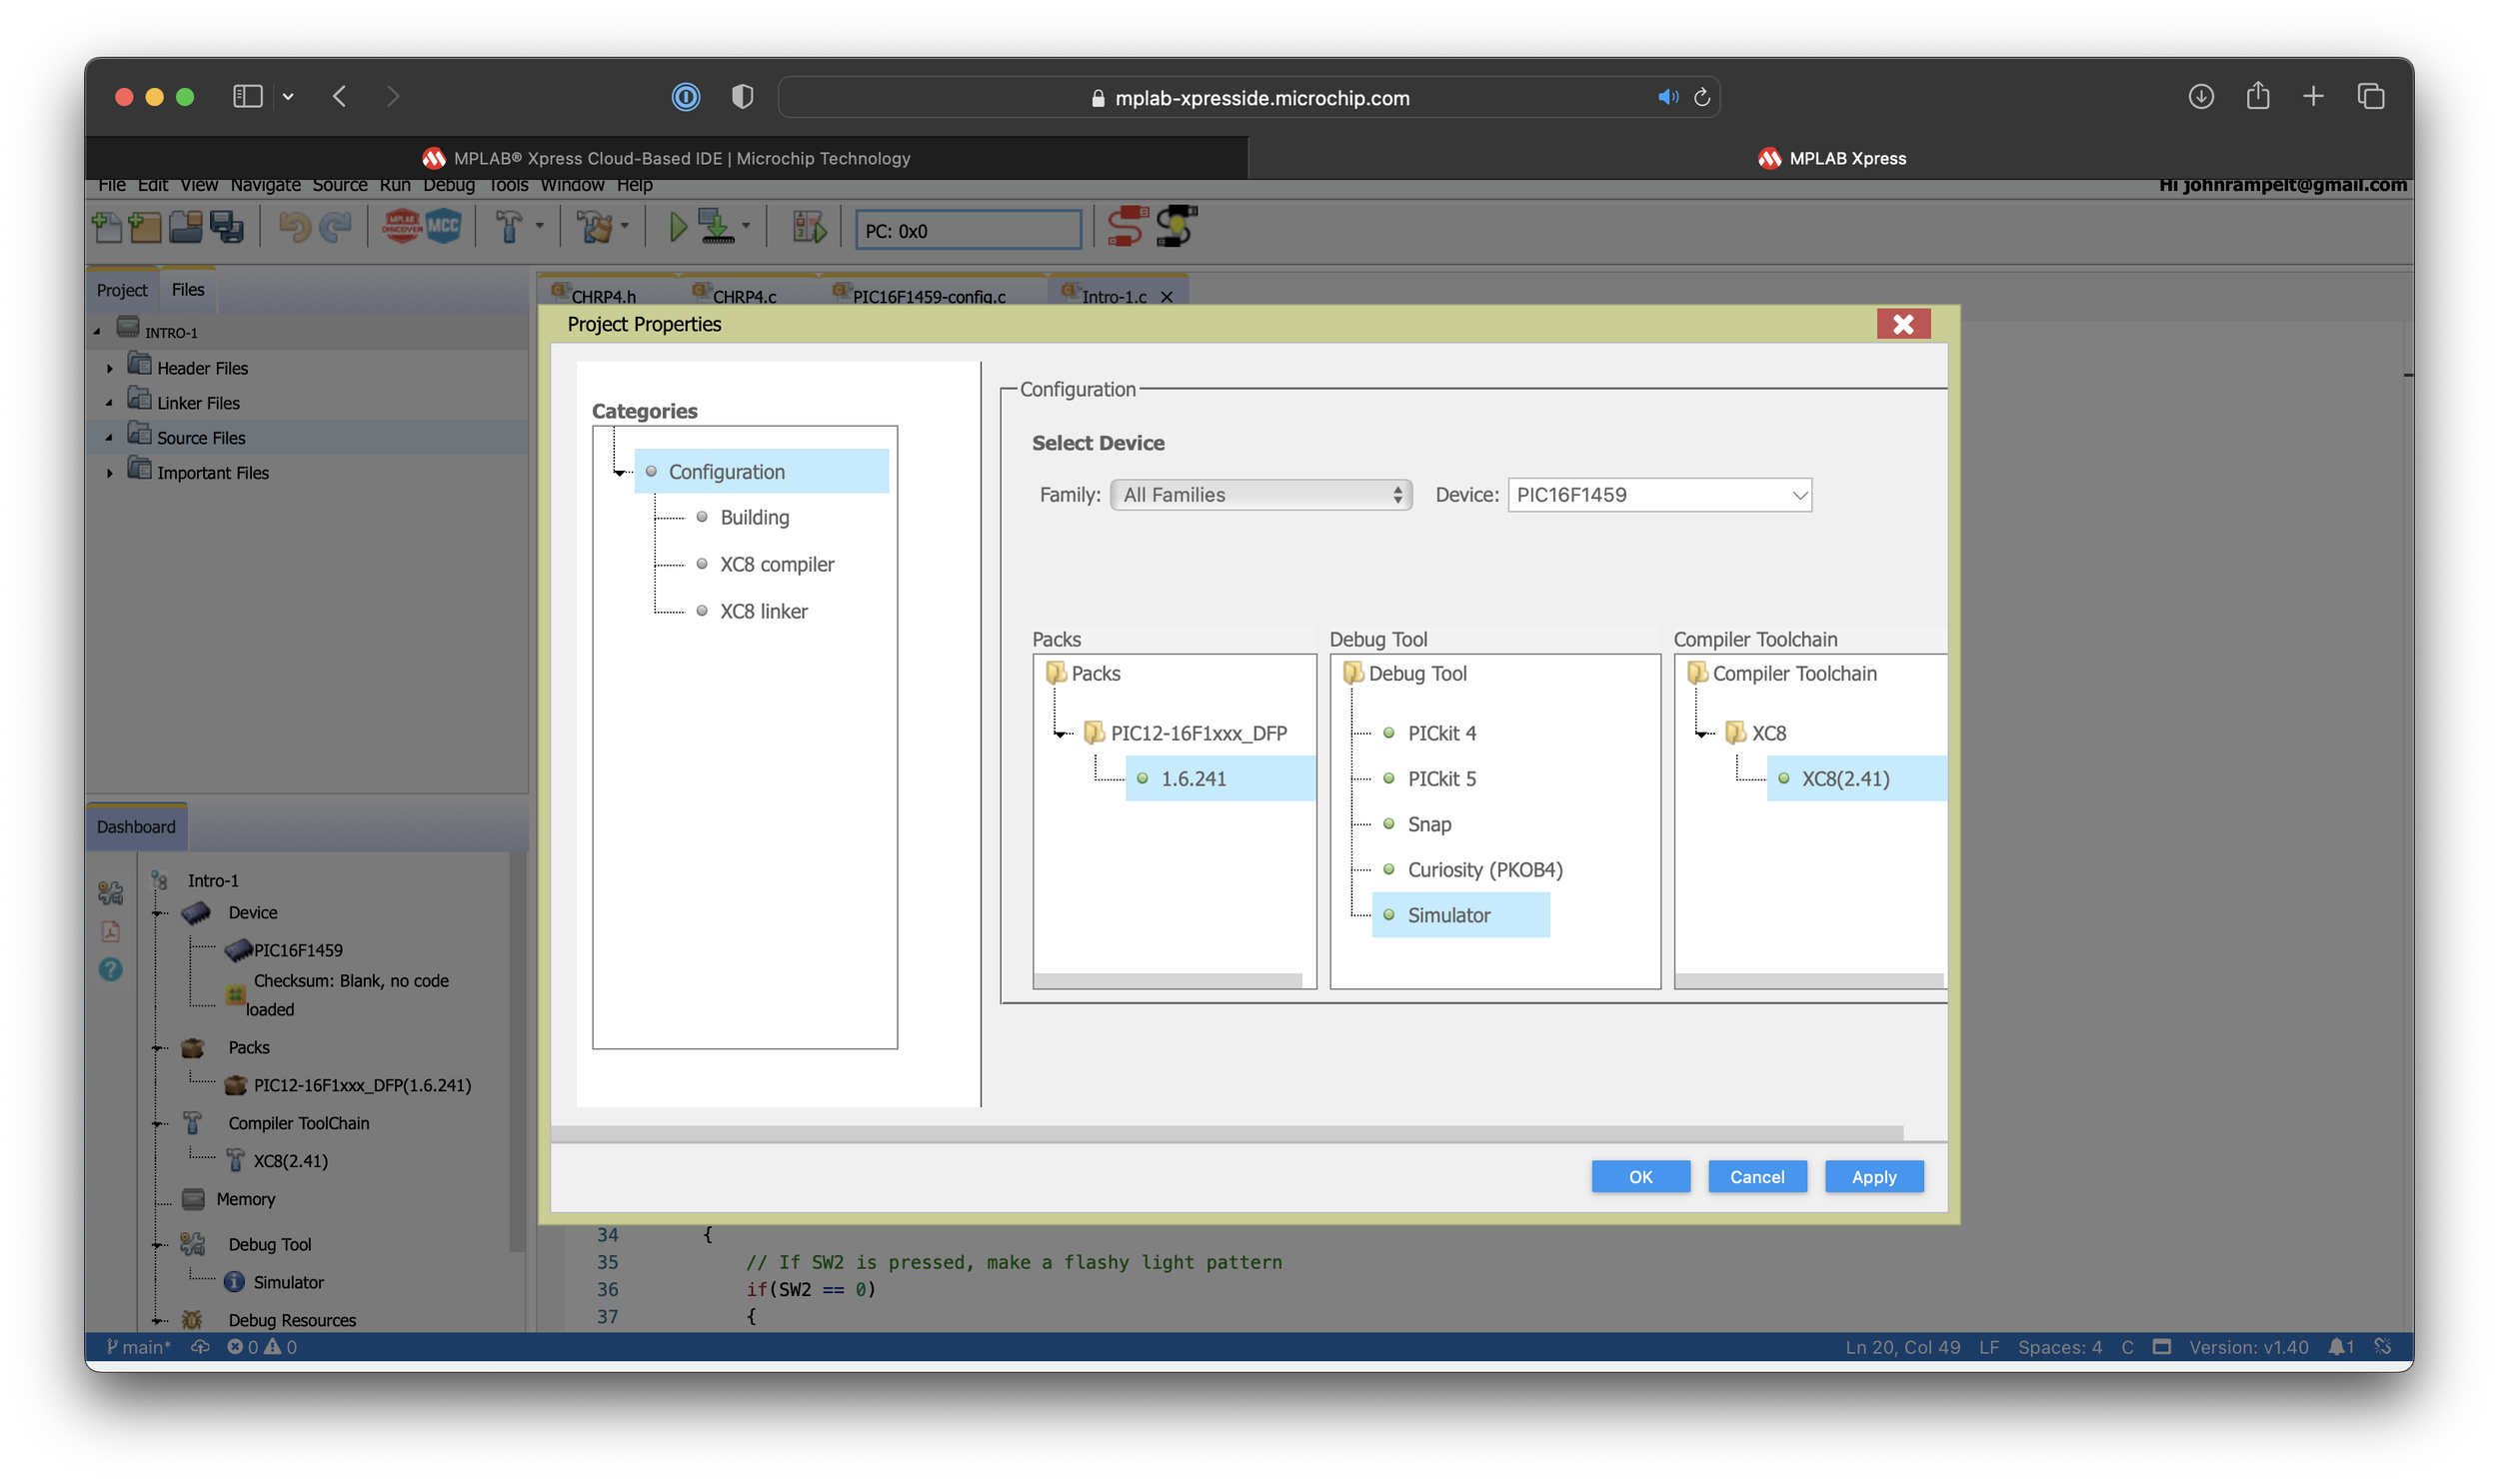
From the Categories: panel on the left, choose the XC8 Linker settings item. Then click in the ROM Ranges box and paste in the previously copied memory settings, also reproduced here inside the single quote marks ‘default,-0-7FF’. These settings reserve the memory between addresses 0-7FF (hexadecimal) in the microcontroller for the bootloader.
Next, enter the value 800 in the Codeoffset box. This will be the starting memory address of our program.
Click the OK button to save the linker settings and close the Project Properties dialogue box.

Step 6 - Add the project files into the project
The last step in creating an MPLAB XPress project is adding the source code files into the project. Although the four source files have been created in, and added into MPLAB Xpress, they exist separately and are not yet a part of the project that we created.
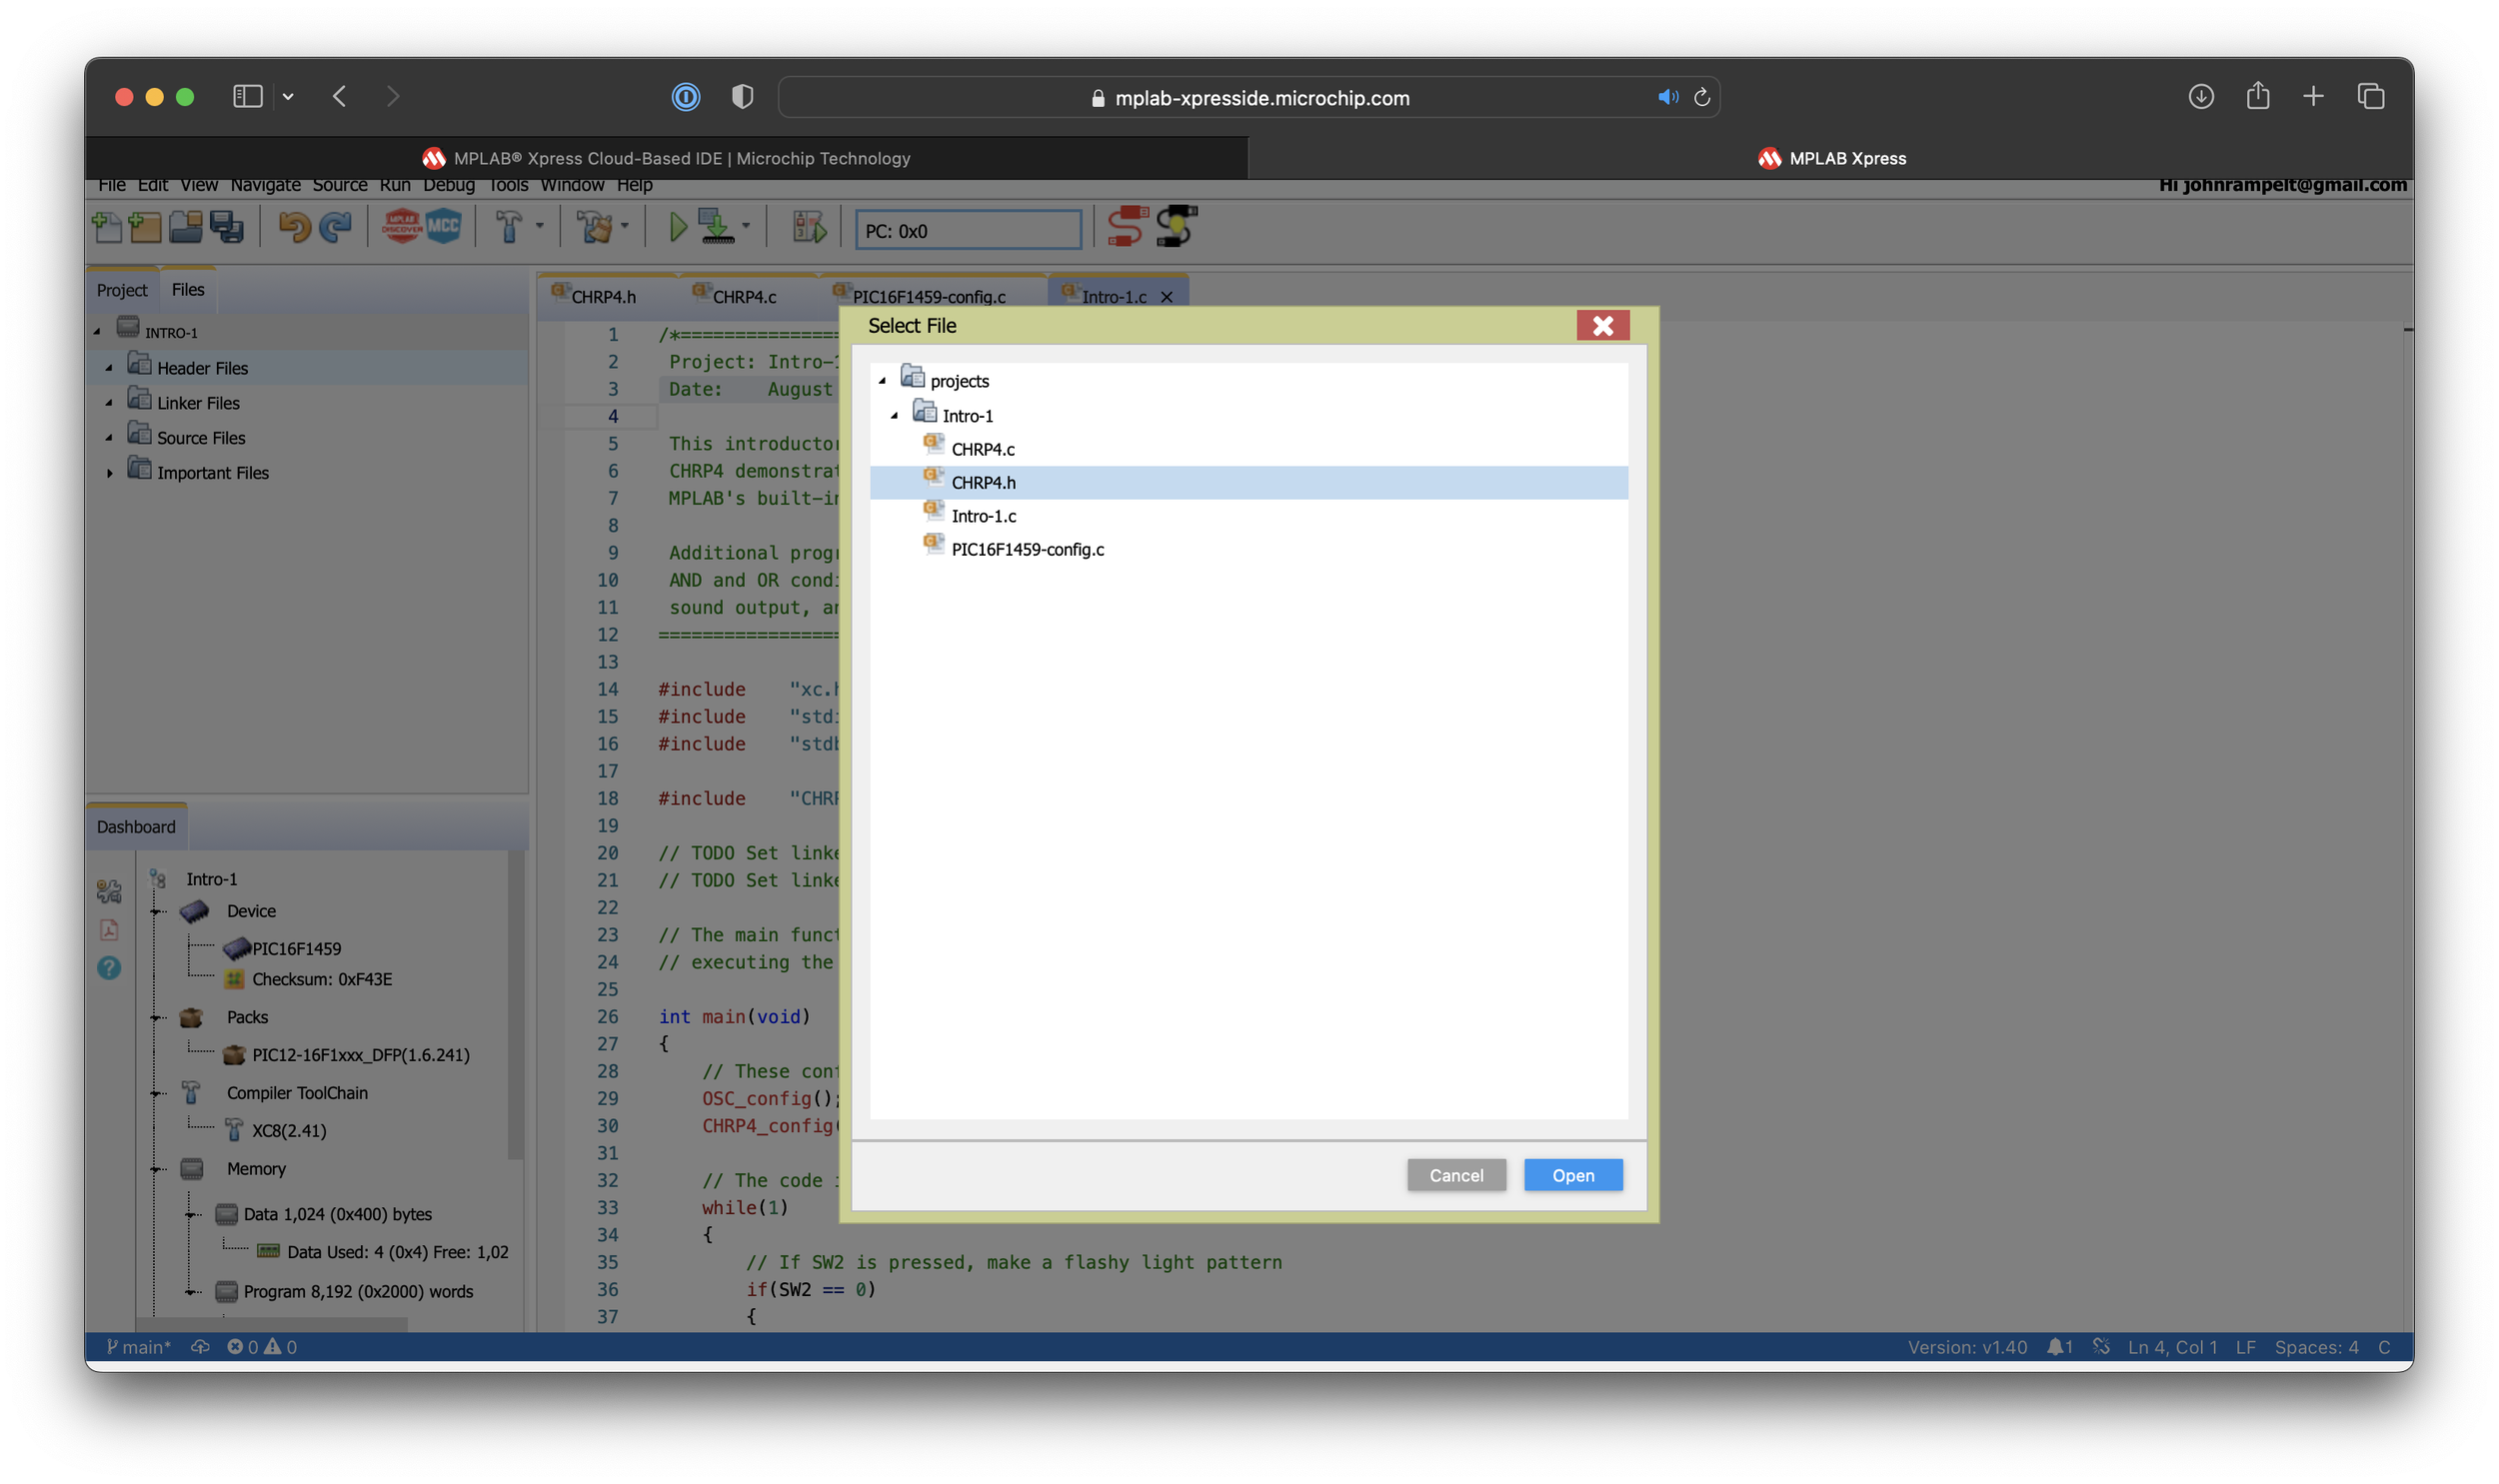
Start by adding the .h header file. In the Project organizer panel at the left of the screen, click the Header Files category. Then, right click on the Header Files item to open a context menu, and choose Add Existing Item… from the list.

A Select File dialogue box will open, showing the four files that were previously added into the Intro-1 project in MPLAB Xpress.
Select the CHRP4.h header file and click the Open button to add the file into the project’s header files organizer.
The Header Files section of the Project panel should now contain the CHRP4.h file added in the prior step. If the file is not visible, click on the Header Files item to expand it and show its contents (as shown below).
Next, the three .c source files have to be added to the project. First, click on the Source Files item in the Project panel to select it. Then, right click on Source Files and choose Add Existing Item….
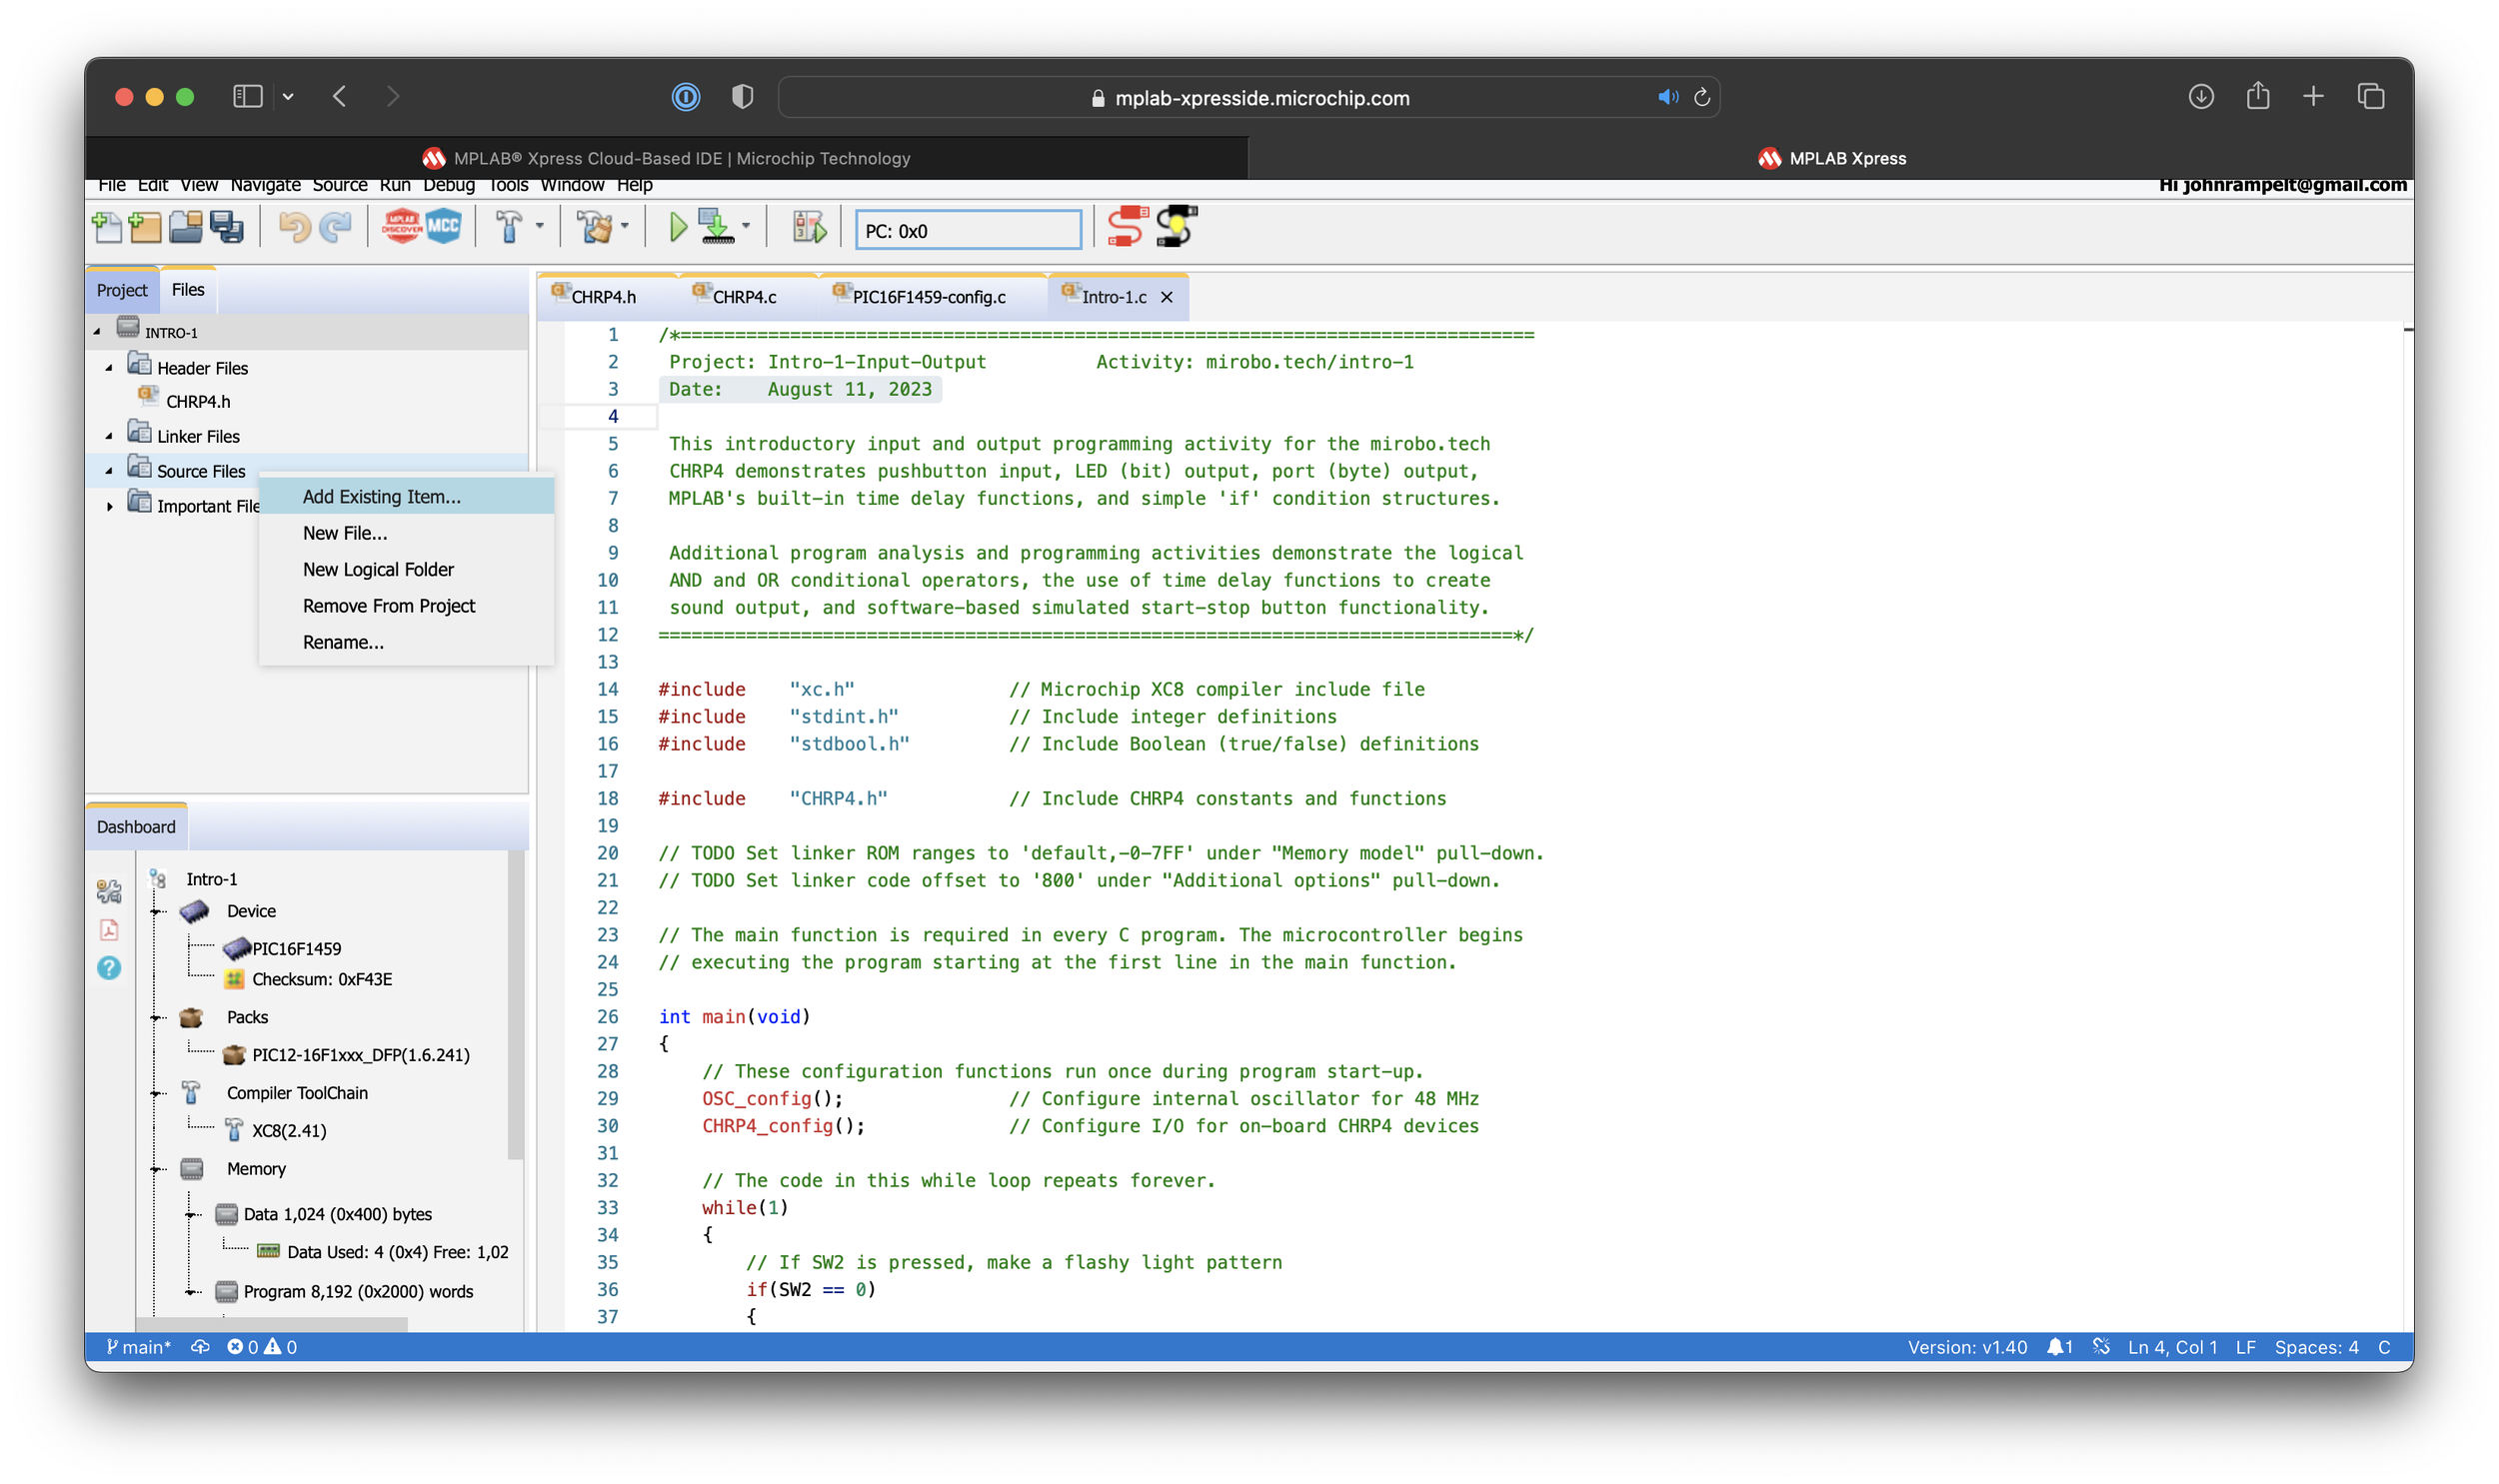
Select the CHRP4.c file from the Select File dialogue box and click Open to add it to the project’s source files.

Repeat the same process two more times, adding both the main Intro-1.c file and the PIC16F1459-config.c file to the project’s source files. The project should now include the added CHRP4.h header file as well as the CHRP4.c, Intro-1.c, and PIC16F1459-config.c source code files as shown in the image below:

Step 7 - Build the project
Compiling the program is referred to as building the project. Click the downward-facing arrow beside the Clean and Build icon (the hammer and broom) in the toolbar and select the Clean and Build for Export option. MPLAB Xpress will start to compile the current program and, when it is finished, the compiled object file (Intro-1.hex, in this case) will automatically be downloaded to your computer.

When compilation starts, the Output window below the code editor will open to show the progress of the build and the results of the build operation.

If the build is successful, the compiled program object file – with the filename ending in a .hex file extension – will be downloaded to your computer, ready for programming into your microcontroller.
A freshly-created project built from tested source files like this one should build successfully, but you may run into build failures after editing the code. If your program fails to build, check any of the source code files that you edited for errors, and try to build the file again after fixing the errors. Common sources of errors after editing the Intro-1.c file include missing characters at the start of the first comment block, missing characters at the end of the final comment block, missing semi-colons ‘;’ at the end of C statements, or mis-matched curly-braces { } in the program.
Step 8 - Program your microcontroller
There are a number of different ways circuits can be programmed, but since this tutorial builds the introductory activity for the CHRP4 or UBMP4 circuits this example will focus on the using the USB µC bootloader for programming. (Get more information about uploading programs using a bootloader.)
Locate the object code file
First, locate the compiled .hex object code file. Navigate to your computer’s downloaded files folder.

Connect your circuit and press SW1
Connect your CHRP4 or UBMP4 to your computer’s USB port. The next step will only work if the USB µC bootloader is pre-installed in the PIC16F1459 microcontroller – it comes pre-installed in the microcontrollers included in CHRP4 and UBMP4 kits.
Press and release pushbutton SW1, the button beside the USB Type-C connector on your device. A drive named PIC16F1459 will mount in your computer’s filesystem.
Drag and drop your program into the circuit
Drag and drop the program .hex file to the PIC16F1459 drive to download the program into the microcontroller on board your circuit using the bootloader.

Downloading this program through the bootloader takes less than a second, and the PIC16F1459 drive will automatically be ejected from your computer. That’s it! Your program is now running in your circuit.
You should now be able to create an MPLAB Xpress project for any program by using the same sequence of steps described here.
Step 9 - Save your project
Save your MPLAb Xpress project to GitHub
After you have created a project in MPLAB Xpress, you will probably want to save the new project instead of creating it again. MPLAB Xpress will save your project files for a limited time in its cloud sandbox (for only three days as of when this page was created), but you will likely want a more permanent way to save your programs. Saving your MPLAB XPress project to your GitHub account is the first option.
Storing your project in GitHub isn’t as easy as hitting a save button. There are a few steps involved, commonly known as committing changes to the project, and then pushing the changes to GitHub. Watch the video below to see how it’s done:
Export your MPLAB Xpress project for use in MPLAB X
Alternatively, you can export a copy of your project from MPLAB Xpress in a format that allows it to be opened in MPLAB X. To do this, use the Export Project option in the File menu. This packages all of the project files into a .ZIP archive that will be downloaded to your computer.
MPLAB X projects can also be imported into MPLAB Xpress, including the .ZIP archives exported from MPLAB Xpress. To do this, use the Import Project option in the File menu.

The File menu showing the Open Git Controls option, as well as the Import Project and Export Project options.
MPLAB® is a registered trademark of Microchip Technology Inc. in the USA and other countries.