Let BEAPER take you from beginner to pro!
Meet BEAPER – our most versatile educational circuit family
BEAPER (Beginner Electronics And Programming Educational Robot) is designed to make it easy for anyone to start learning microcontroller programming using the latest hardware. BEAPER can be used as a simple educational trainer, or it can become an IoT device, a game development system, or an amazingly flexible little robot!
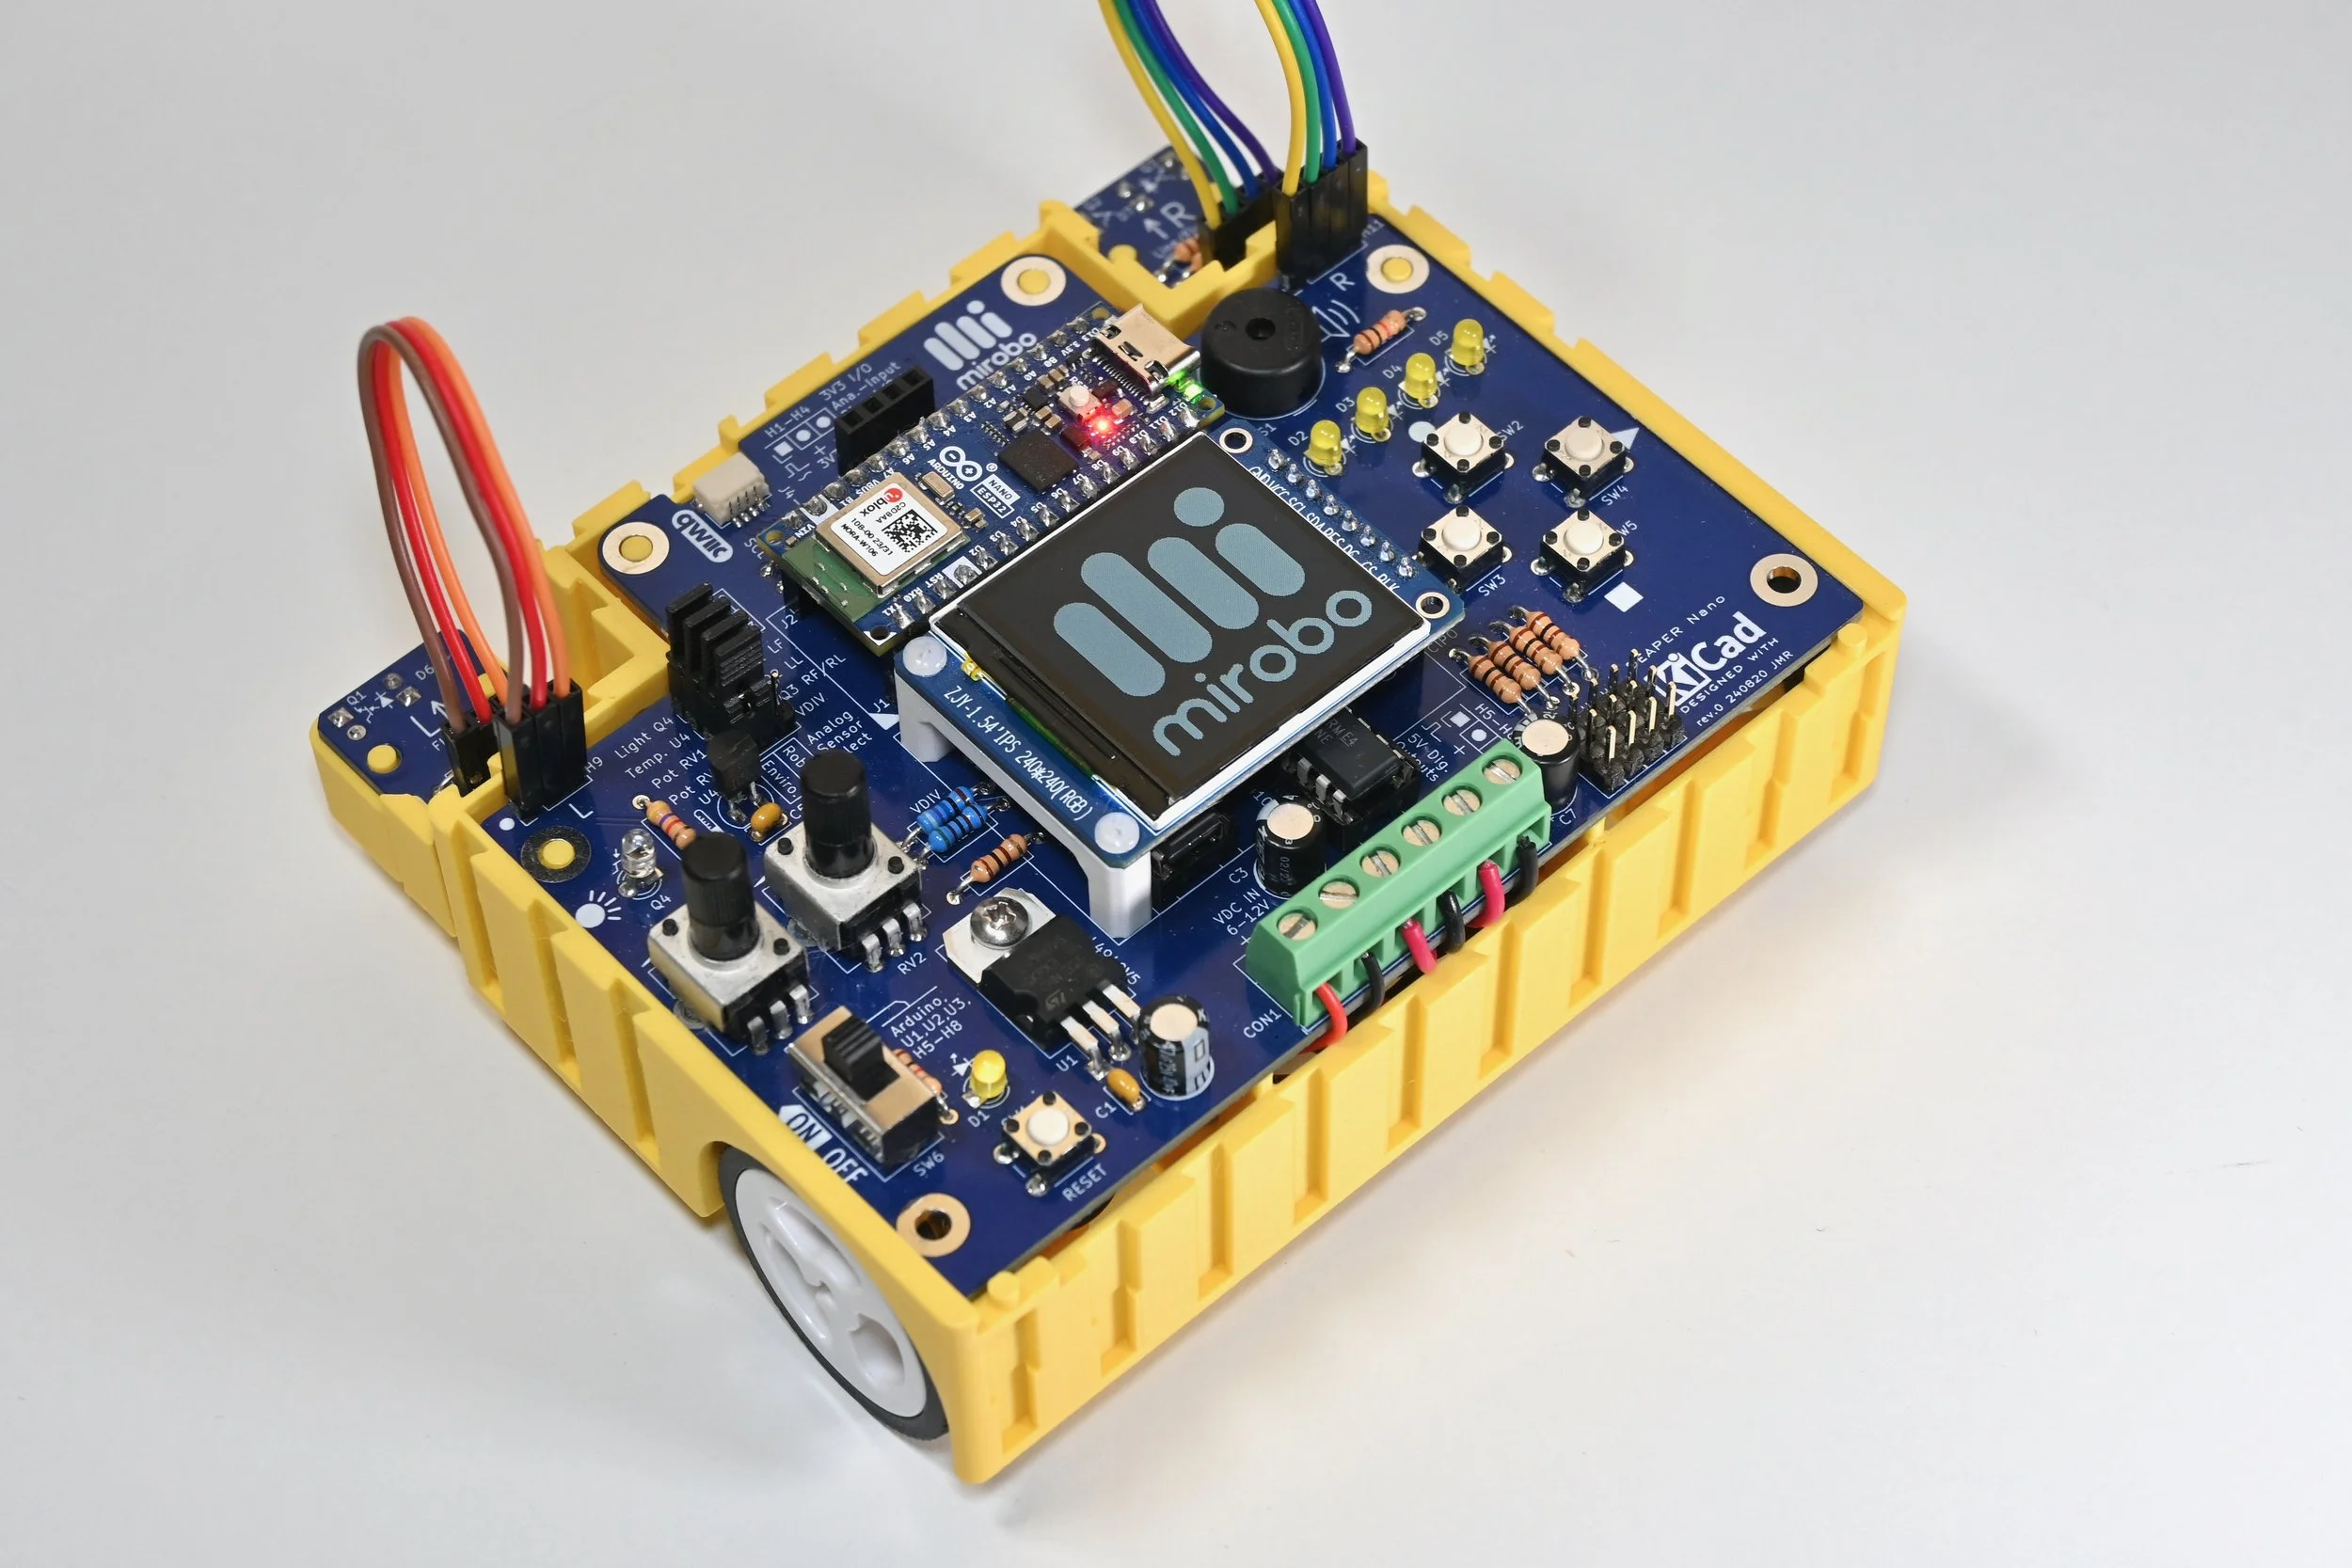
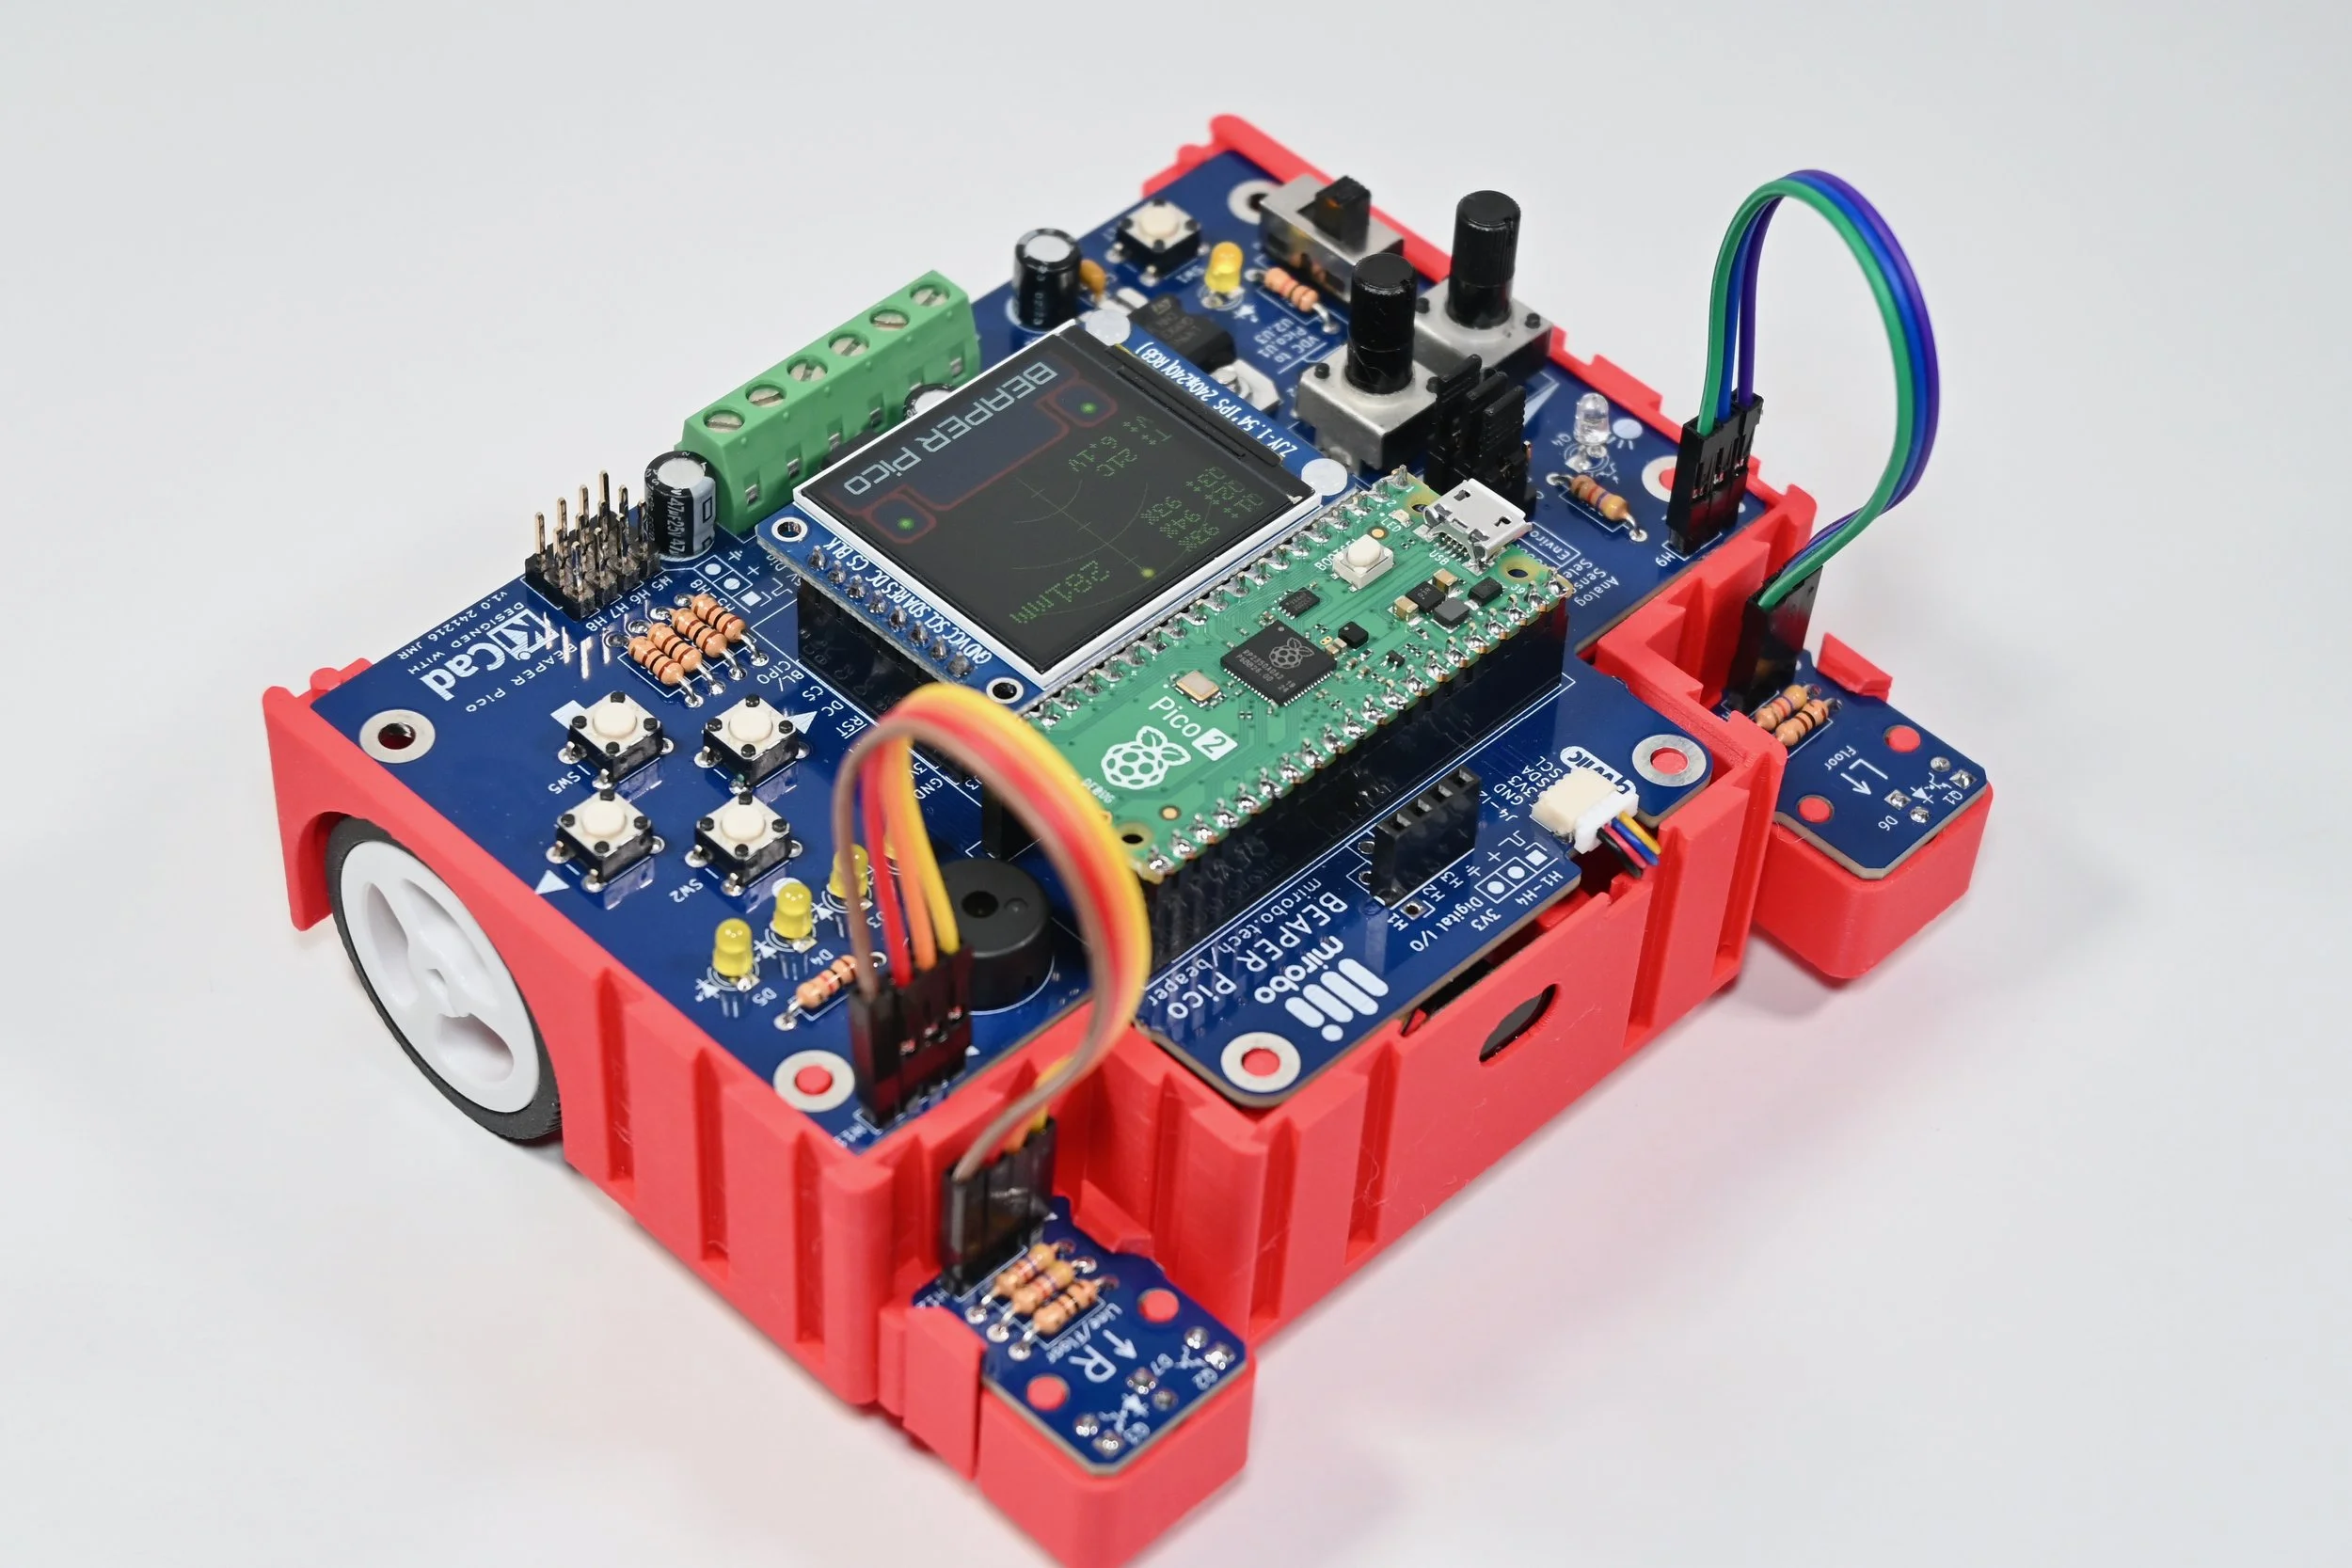
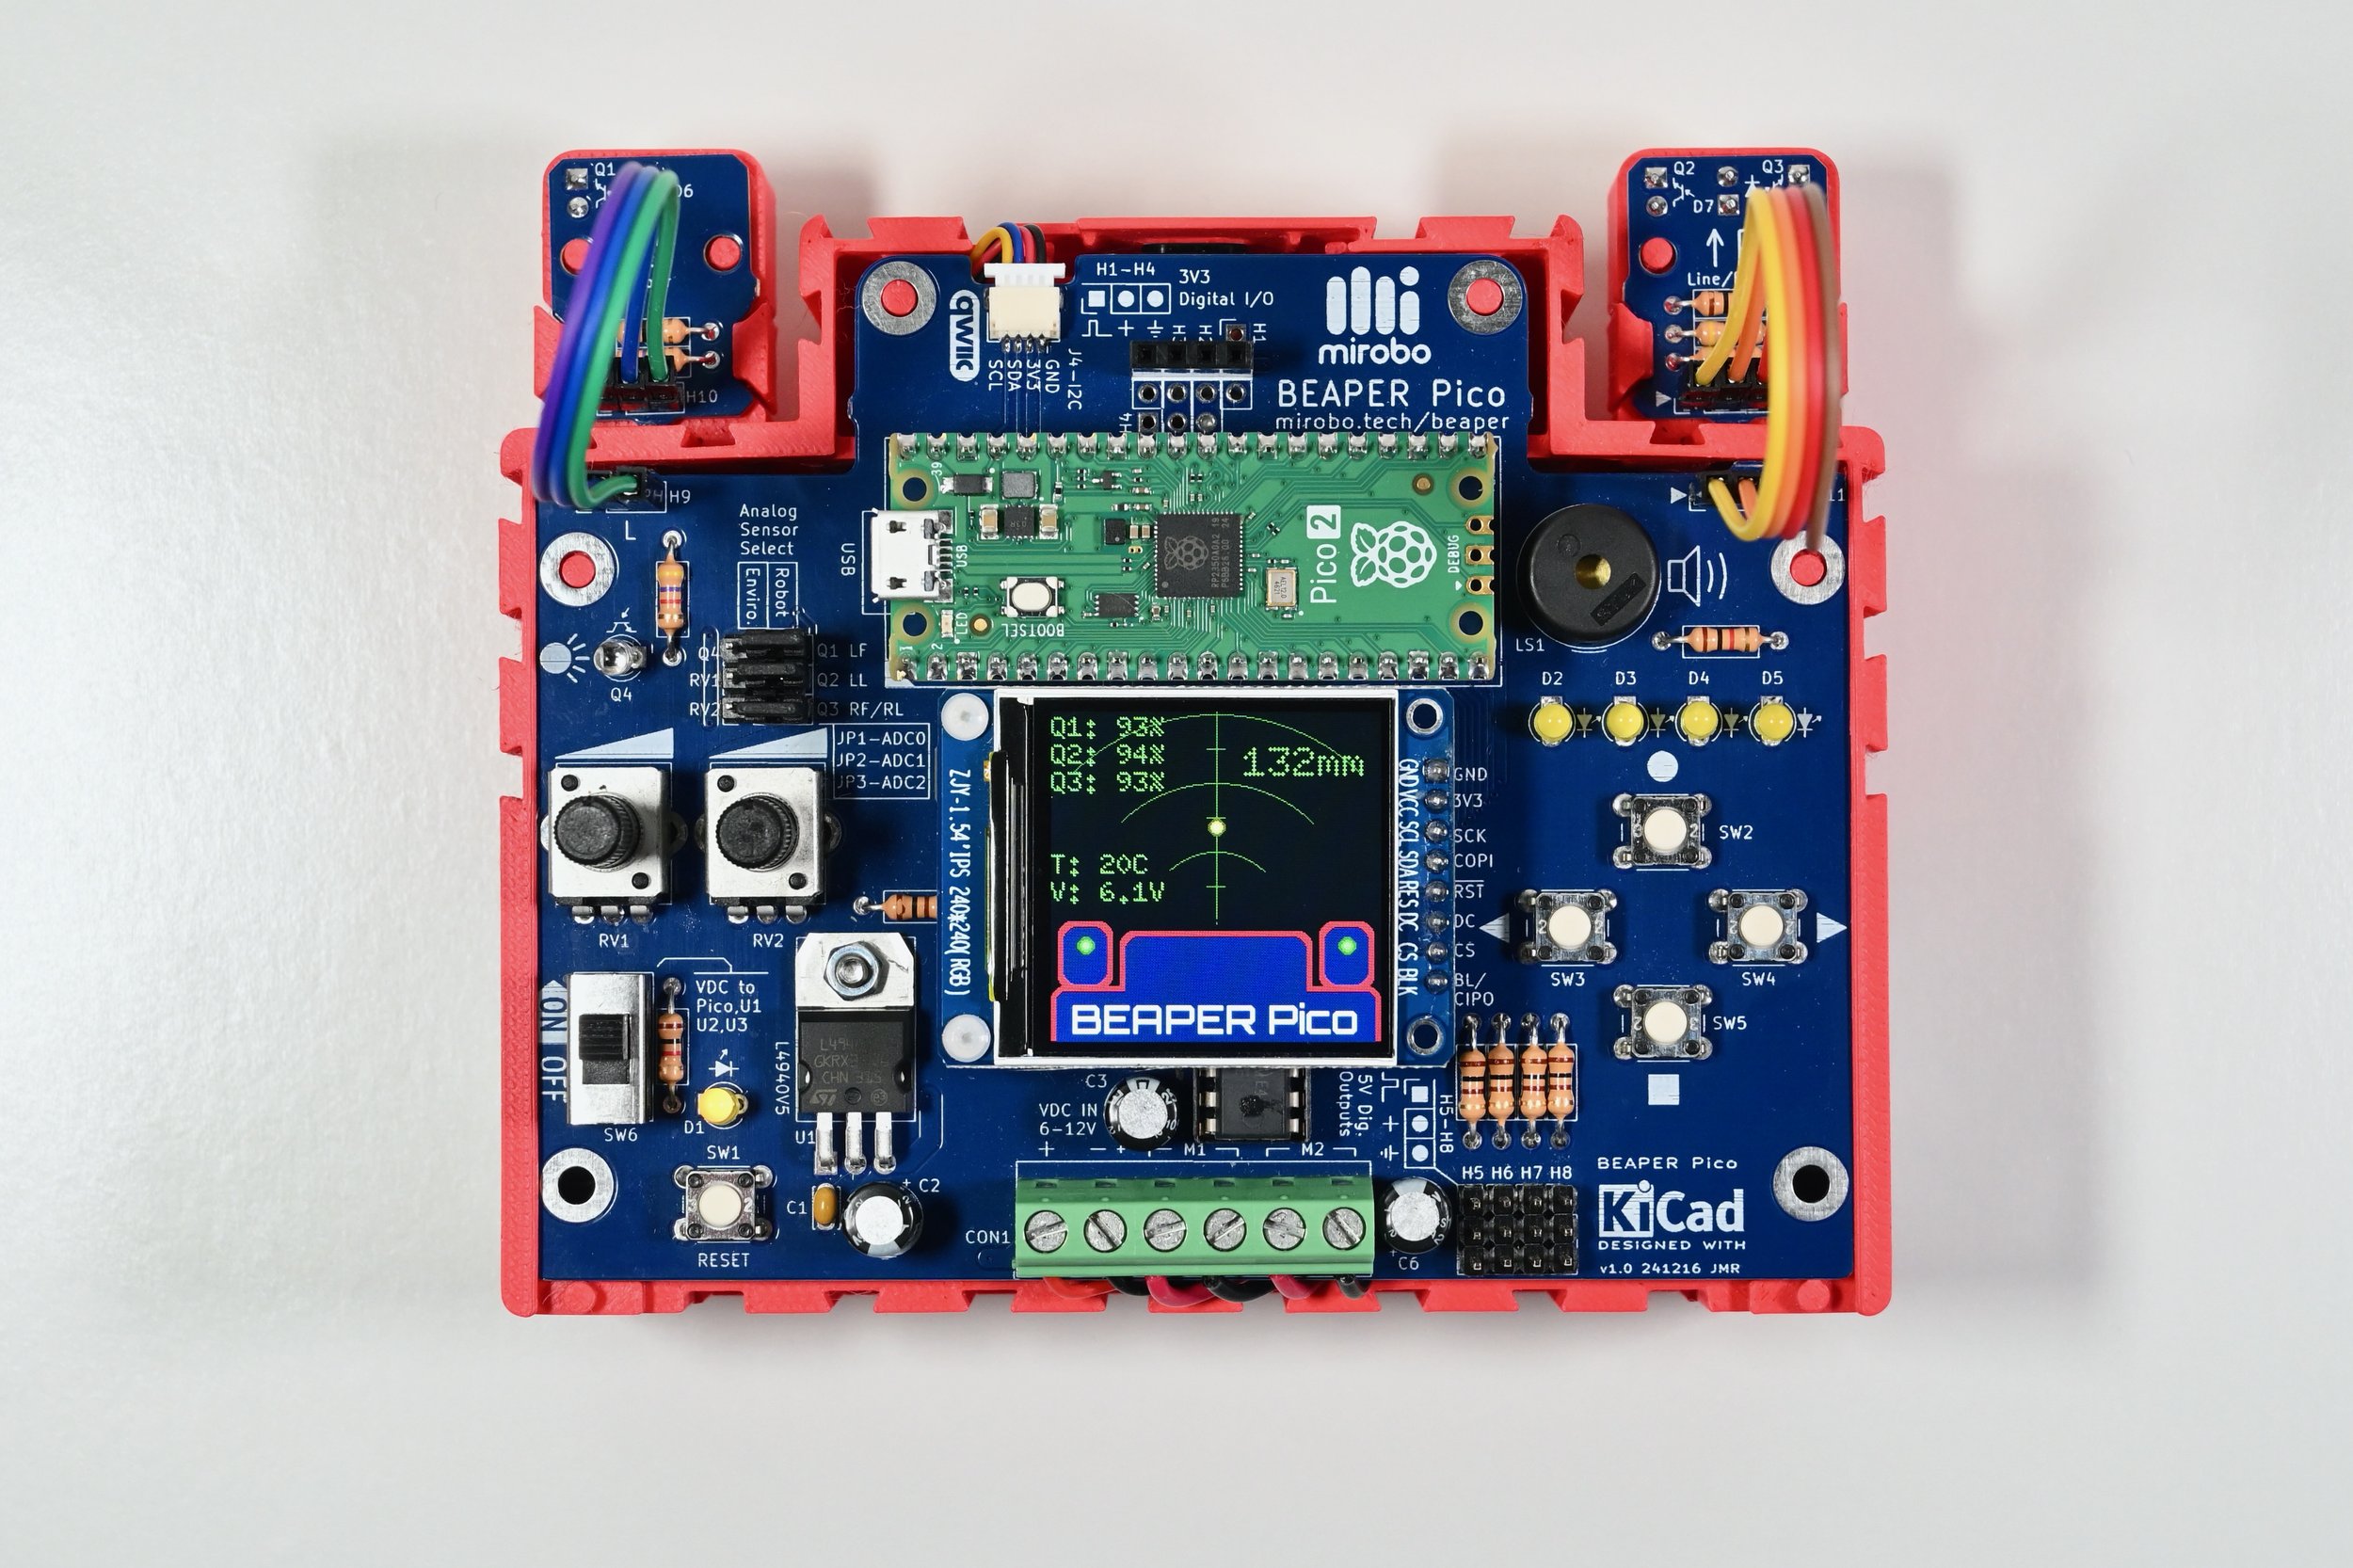
BEAPER is now available in two versions, and both share the same design and design philosophy. There’s BEAPER Nano for powerful Arduino Nano ESP32, and BEAPER Pico for the inexpensive Raspberry Pi Pico family.
BEAPER Nano
BEAPER Pico
Designed for learning
BEAPER was designed by a high school teacher to tackle three of the biggest challenges in microcontroller education:
Provide the ability for learners to focus on learning programming independently of building hardware.
Overcome the limitations of simple beginner circuits.
Provide a flexible and low-cost option for hobbyists, schools, robotics clubs, and maker spaces.
Focus on developing programming skills
BEAPER has all of the common beginner I/O hardware circuits built in, enabling new learners to focus their effort on learning programming skills quickly – without having to simultaneously build and debug error-prone breadboard hardware circuits. Users can start simply, with just pushbuttons, LEDs, and a piezo beeper – as shown in this inexpensive and minimal BEAPER Nano build – and keep growing from there.
Simplicity, versatility, and expandability – in the same circuit!
When beginners are ready to move on from basic pushbuttons and lights, BEAPER supports additional on-board components that include two analog potentiometers, an ambient light sensor, an analog temperature sensor, an H-bridge capable of driving multiple motors, a graphical LCD display, and it also features a variety of external analog and digital I/O connectors, including an I2C bus QWIIC connector. All of these components and capabilities make BEAPER an incredibly flexible solution for open-ended problem solving, as well as an ideal platform for project-based curriculum in schools.
A unique, lowest-cost, option for education
BEAPER can be purchased as either a bare PCB (printed circuit board), or as a kit. It’s designed to be assembled in stages so new learners can start learning programming fast, after installing just a minimal subset of its parts.
BEAPER’s through-hole design allows additional components to be added at any time as learners build their skills and abilities, while instructors can save funds by only adding the circuits and components required to meet their curriculum. On top of that, BEAPER’s versatility enables returning students in multi-term or second-year courses to expand their existing BEAPER circuit with new circuits and capabilities to keep learning without having to buy new or different circuits!
Go farther – with BEAPER Bot
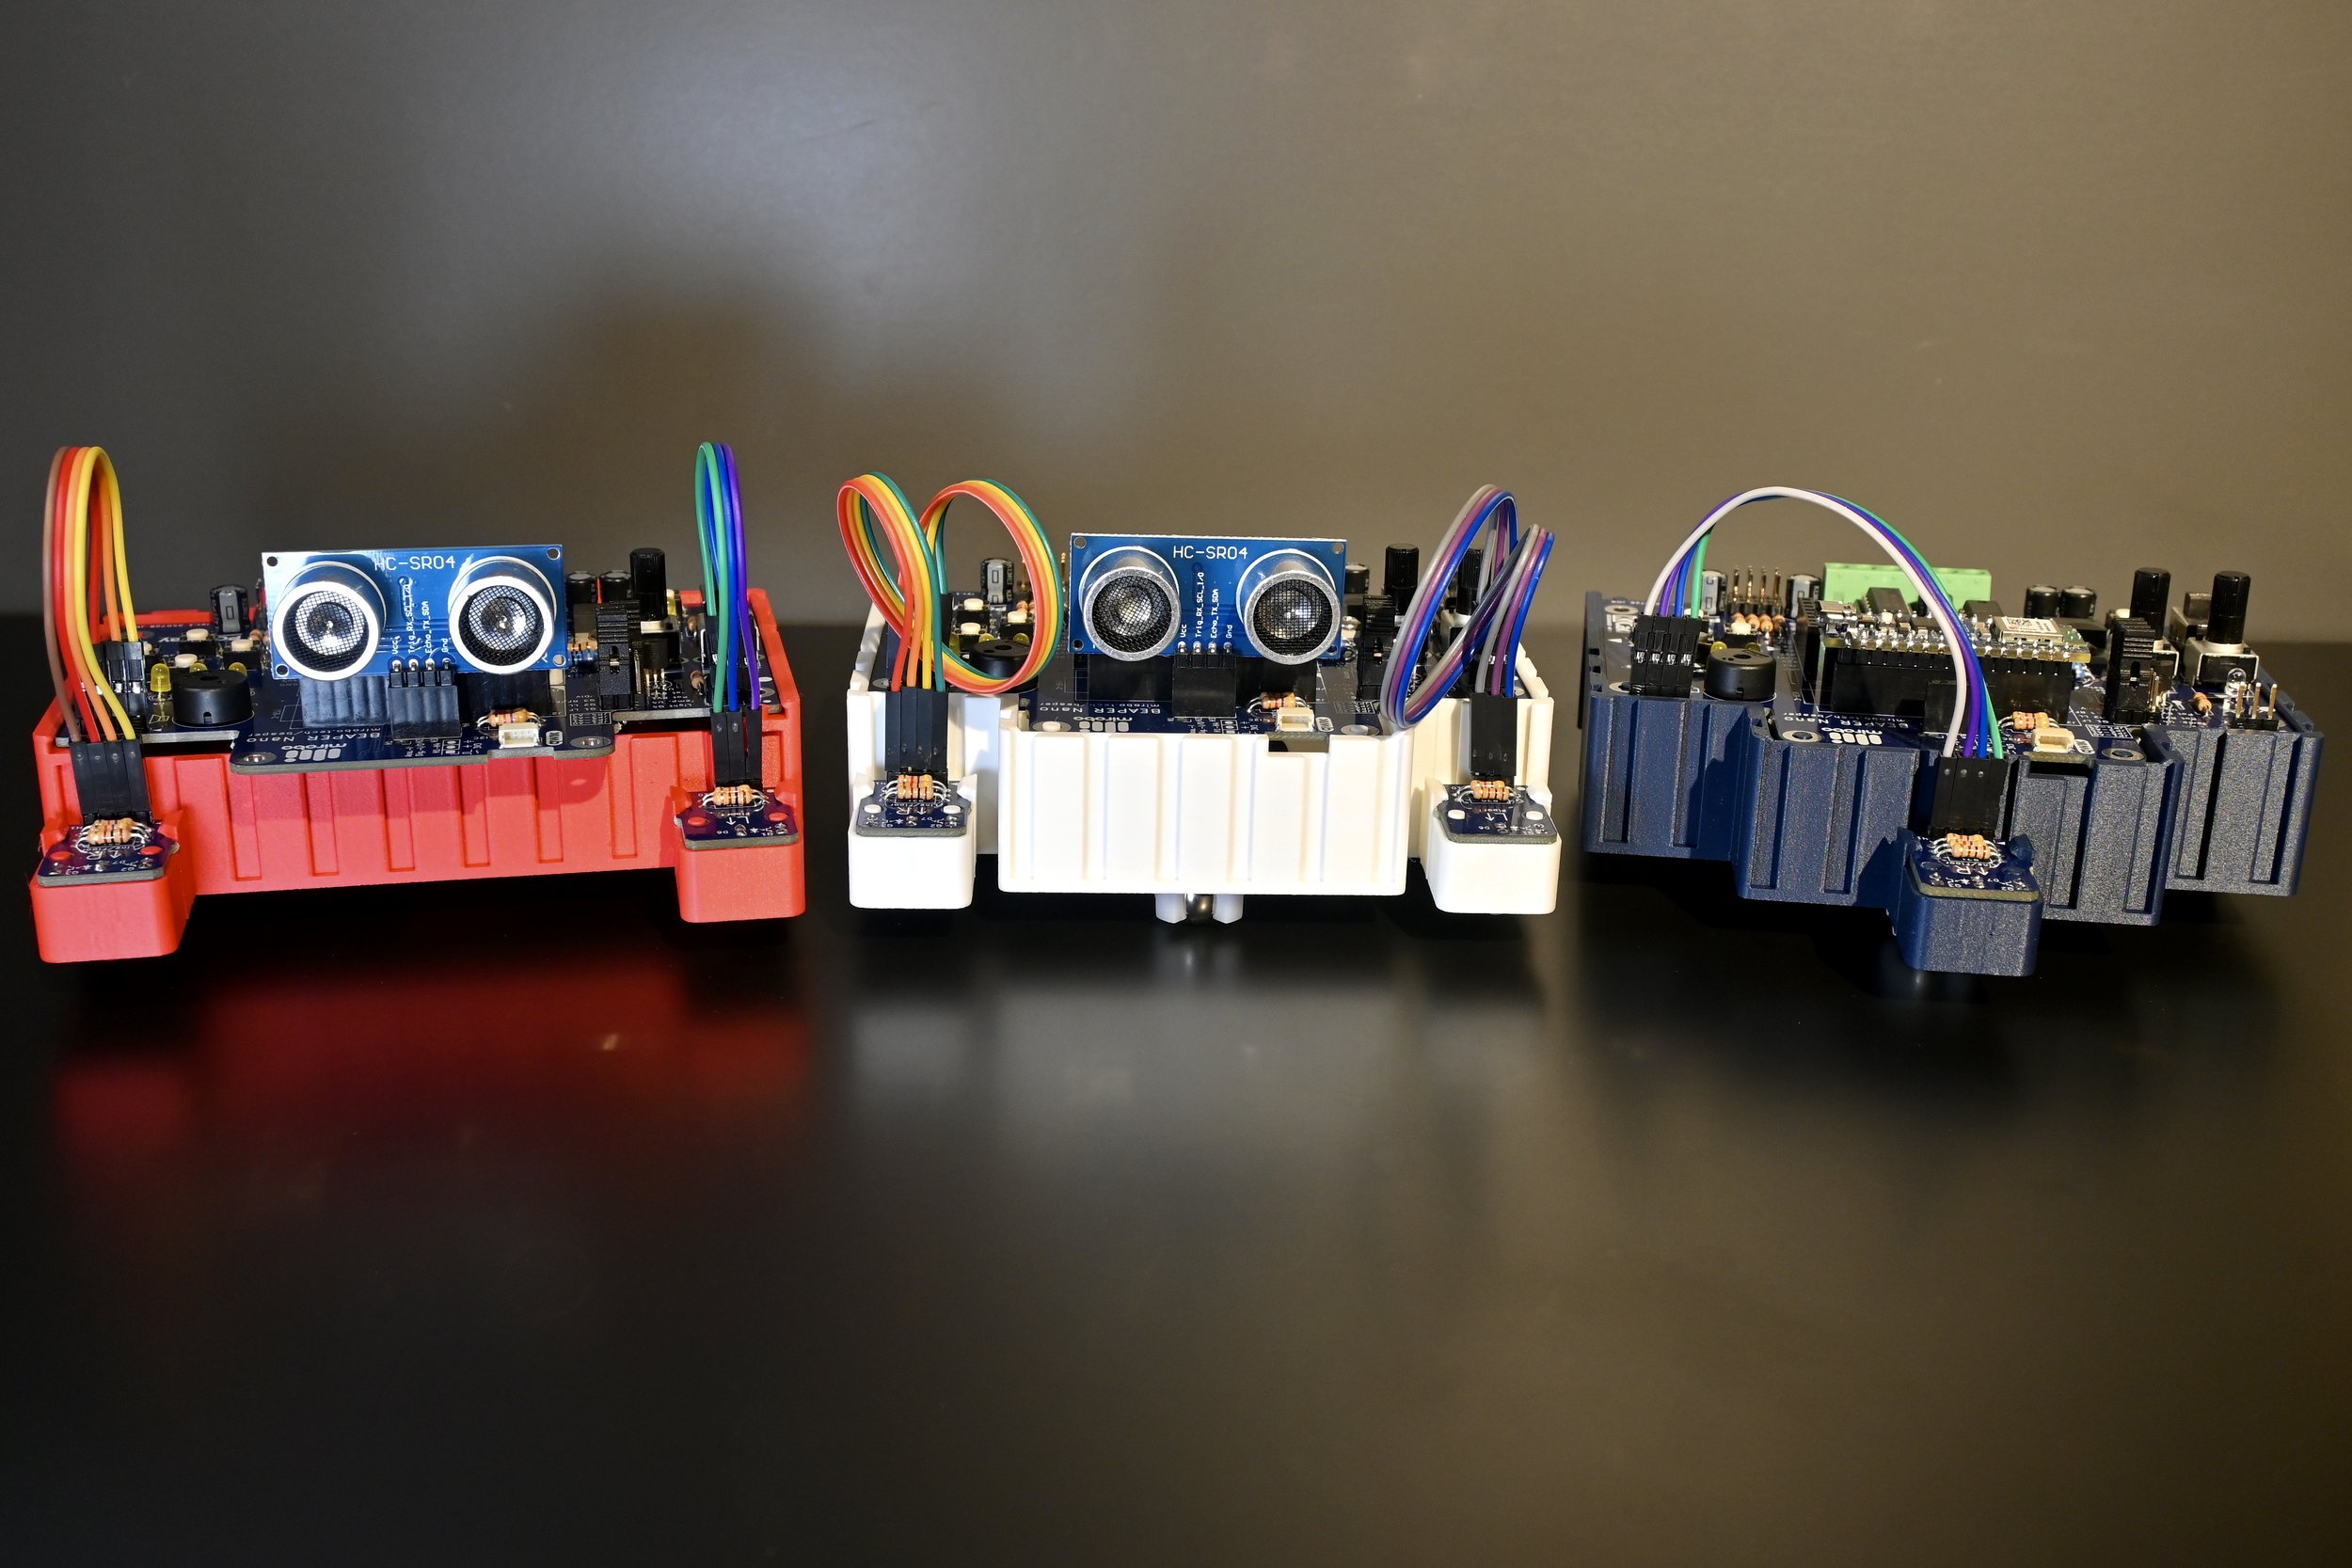
BEAPER Bot is a versatile and customizable ecosystem of robot parts designed to make it easy for anyone to turn their BEAPER circuit into a variety of simple robots. All of the BEAPER Bot components have been created and shared in Tinkercad, enabling anyone to customize and 3D-print them!
Classroom-proven learning activities teach you the fundamentals!
Our shared introductory learning activities lead new learners through beginner programming fundamentals in five comprehensive lessons. Each lesson follows the RAMP-M method – a classroom-proven way to learn:
Run the example program.
Analyze its operation.
Modify parts of the program, and
Predict the results of the modifications.
Make your own programming solutions for related problems.
Every lesson includes program analysis activities that provide learners with a guided exploration of new concepts, as well as programming activities to help learners apply and solidify your newly learned skills and techniques. After mastering the basics, additional starter programs and advanced programming activities assist learners in making the leap to more involved programming challenges and projects.
Start with a bare board, or a complete kit.
Schools and makerspaces may want to start with bare boards and populate only the components they need. This saves the expense of pre-built systems with extra features that may go un-used, or the frustration of simpler, less capable systems that need loads of expensive, external add-on boards to deliver their full capabilities.
Hobbyists are better served by opting for a complete kit, since it includes all of the components to take them on a full learning journey. BEAPER’s built-in circuits provide so many capabilities it will take a long time to fully outgrow them!
BEAPER for classrooms and makerspaces
buy bare BEAPER PCBs in bulk to save costs
leverage existing classroom Arduino Nano ESP32 or Raspberry Pi Pico/Pico2 microcontrollers to extend their capabilities and enhance student learning using the pre-wired circuits built into BEAPER instead of building circuits on breadboards
populate only the parts of BEAPER needed to meet specific curriculum requirements or to make selected projects
take advantage of BEAPER’s internal and external expandability in second-year or multi-term courses, as well as to extend learning opportunities for more advanced student projects
BEAPER for hobbyists
buy only the BEAPER electronics kit, or combine it with an LCD or robot parts kit
easily learn Arduino Nano ESP32 or Raspberry Pi Pico/Pico2 microcontroller programming without the hassle and extra time needed for building and debugging breadboard circuits by using the pre-wired circuits built into BEAPER
populate the minimal BEAPER parts to start programming quickly, and then add the parts you need to enable additional capabilities later
use BEAPER’s internal circuits and external connectors to expand its capabilities and limitlessly extend your learning
Should I go BEAPER Nano, or BEAPER Pico?
The Arduino Nano ESP32 is fast, includes more memory, has built-in WiFi and Bluetooth, and can easily be programmed using either Arduino C/C++ or MicroPython, making BEAPER Nano a very versatile option.
Raspberry Pi Pico microcontrollers are less expensive, have more I/O pins (though fewer analog-capable pins), and are very well supported with lots of MicroPython programming examples, making BEAPER Pico an excellent choice for beginners.
You really can’t wrong with either! Find out more – click the images or buttons, below:
BEAPER Nano
BEAPER Pico
Arduino® is a registered trademark of Arduino AG. Raspberry Pi is a trademark of Raspberry Pi Ltd.
