Uploading programs using a bootloader
Installing and launching programs on computers or mobile phones is simple because the operating system helps to manage all aspects of those operations. If you are new to microcontroller programming you might be wondering how it is possible to install and launch programs in microcontroller-based circuits, especially ones that don’t have an operating system to simplify those tasks. Read on to find out!
Microcontroller programming
The most common method of programming microcontroller chips directly is through the use of a separate hardware programming device. Microchip’s PICkit 4 or PICkit 5 USB in-circuit programmer/debuggers are commonly used to program the PIC® family of microcontrollers used in CHRP4 and UBMP4. These devices connect to an ICSP (In-Circuit Serial Programming) port added to a target circuit, or can program individual microcontroller chips installed in a programming socket adapter attached to the programmer. Programming software on the computer is used to upload the compiled object code file into the non-volatile EEPROM program memory of the microcontroller.
Since the mid-range PIC microcontrollers do not use an operating system, only one program at a time can be programmed into the microcontroller. Once the circuit containing the microcontroller is powered-up, the program in the microcontroller begins to run immediately. (Before being programmed, a blank microcontroller will do nothing.)
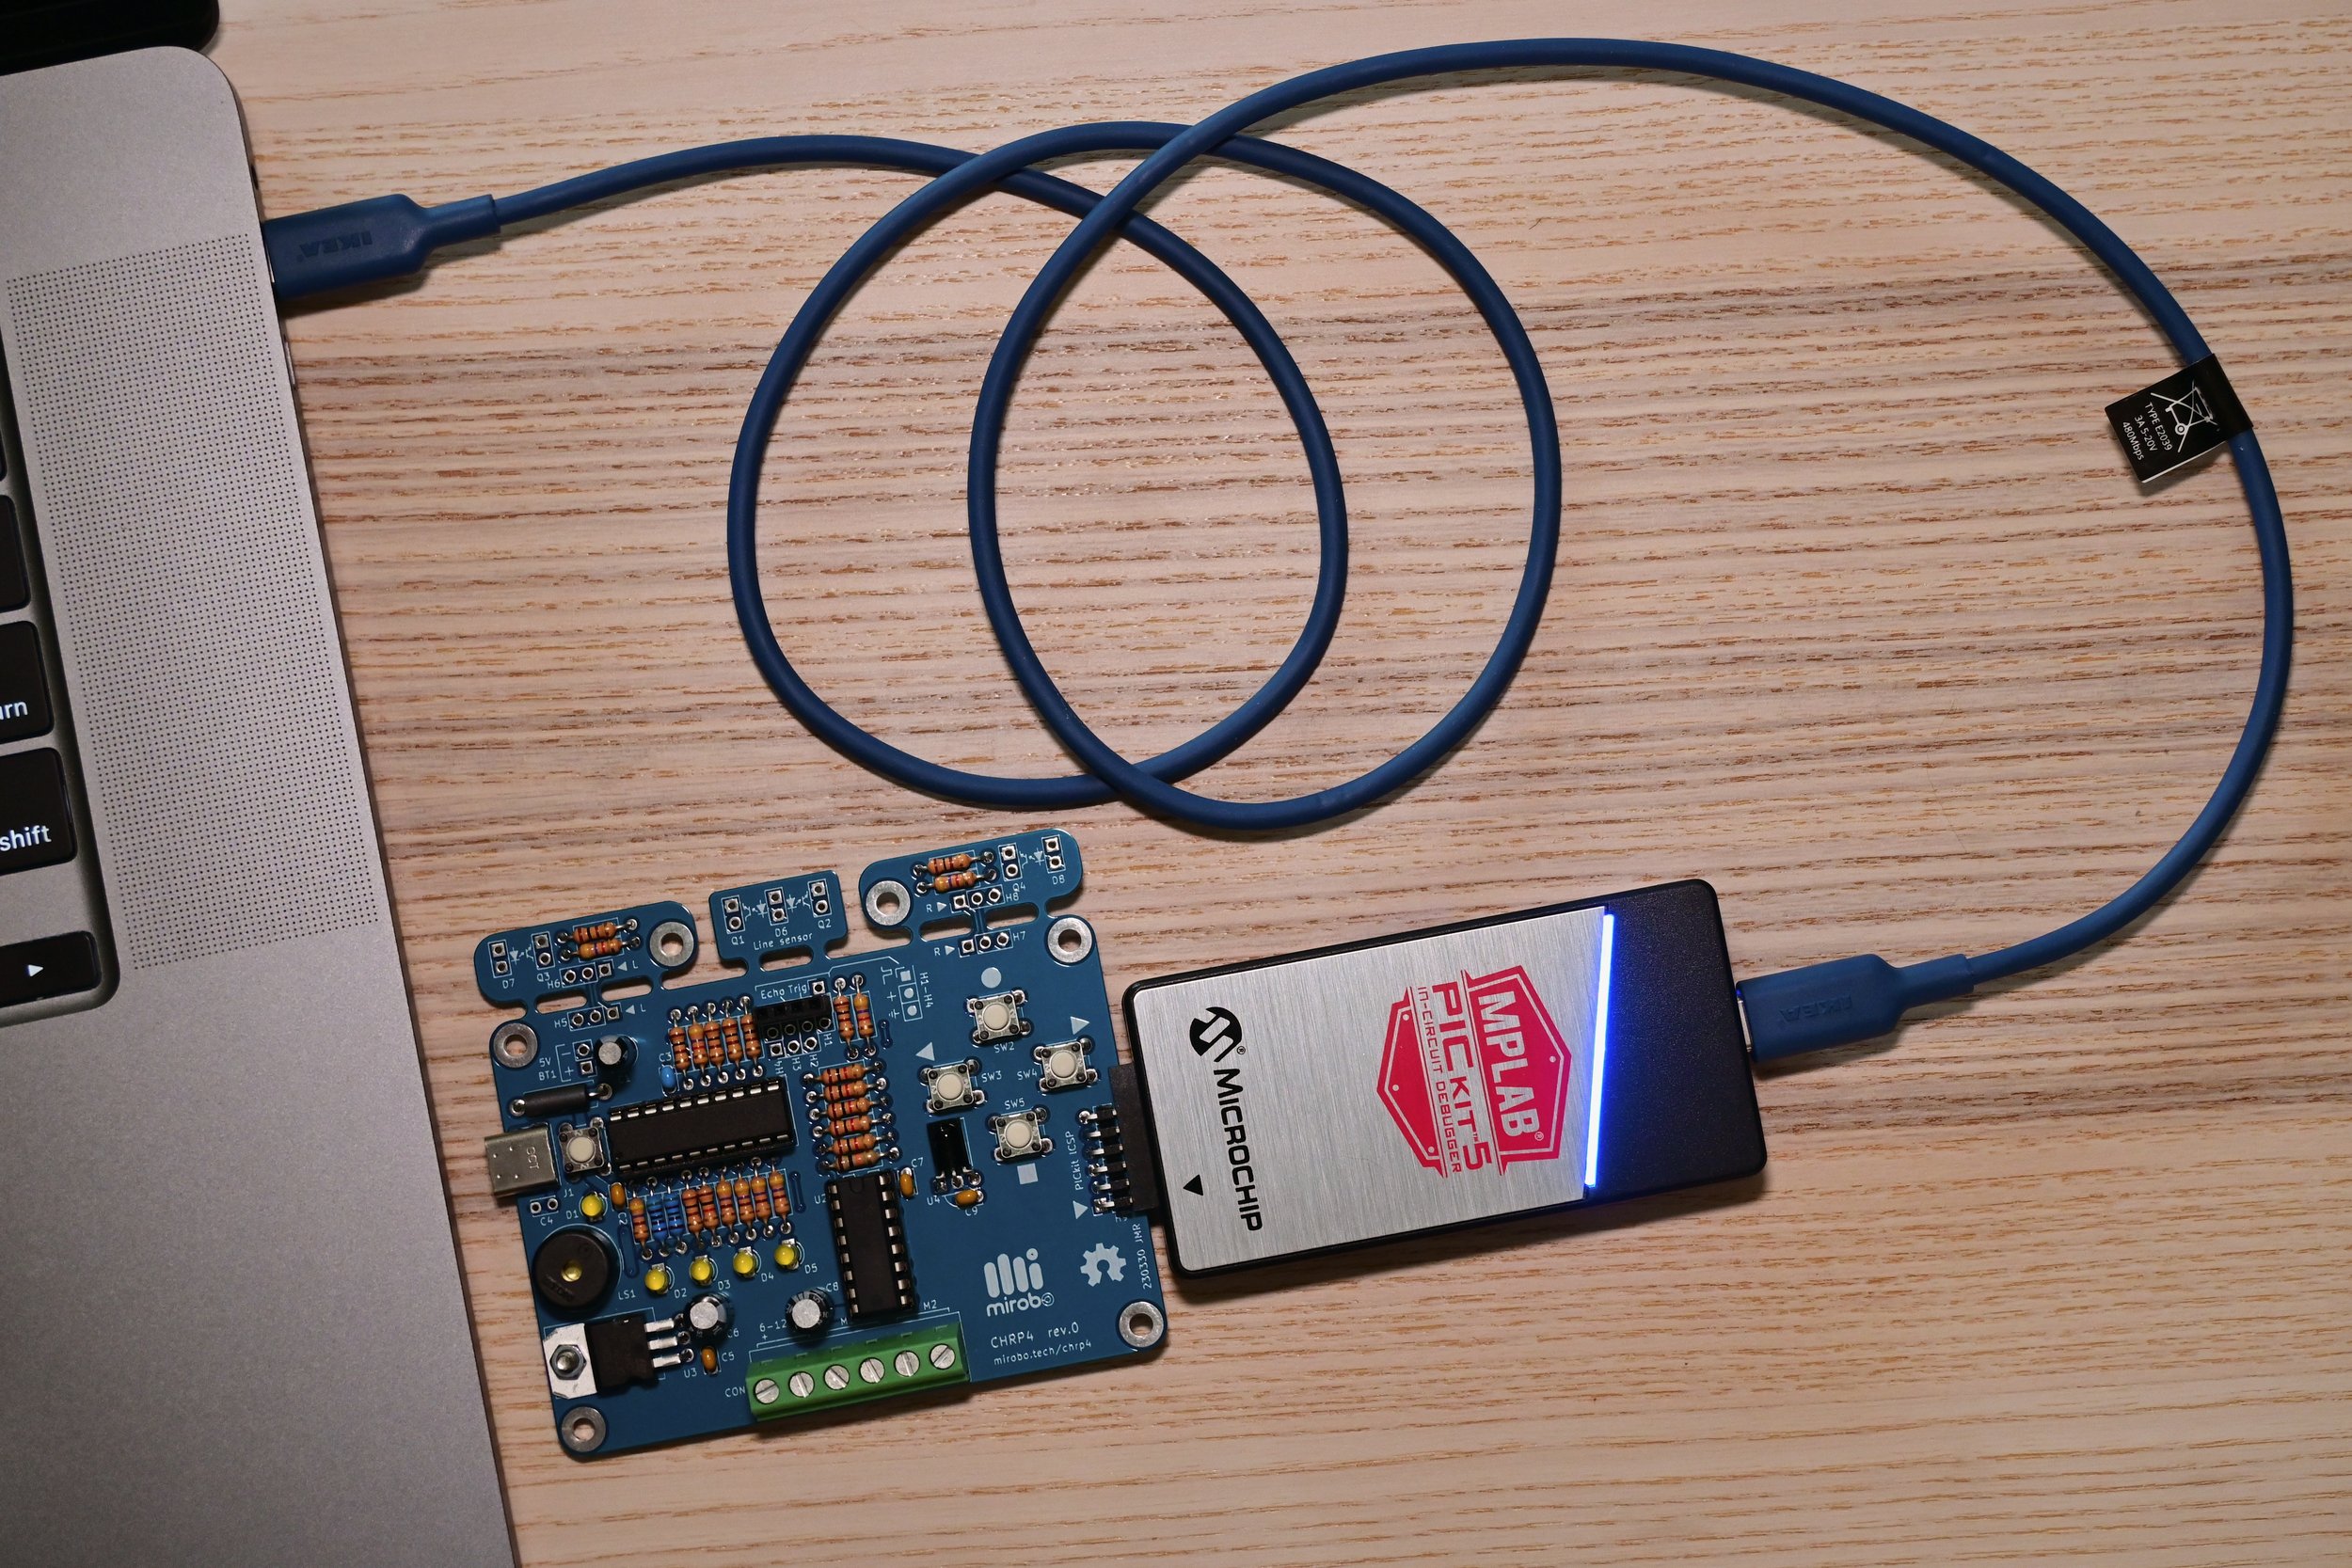
A CHRP4 circuit being programmed by Microchip’s PICkit 5 programmer through its ICSP port.
Bootloader programming
A second method of programming a microcontroller involves the use of a bootloader (short for bootstrap-loader) – a small helper program that facilitates uploading a program directly into the microcontroller’s EEPROM memory through a USB connection from a computer. Bootloaders are the preferred solutions for programming the microcontrollers inside many hobbyist circuits such as the Arduino, Raspberry Pi Pico, MicroBit, and others, because they don’t require the users of these systems to purchase a stand-alone programmer in addition to the microcontroller circuit. A bootloader program does have to be installed in these circuits first, and that is usually done using some sort of hardware programmer by the manufacturer. After the bootloader has been installed, users can easily upload and install programs into their circuits using nothing more than a USB connection from their computer.
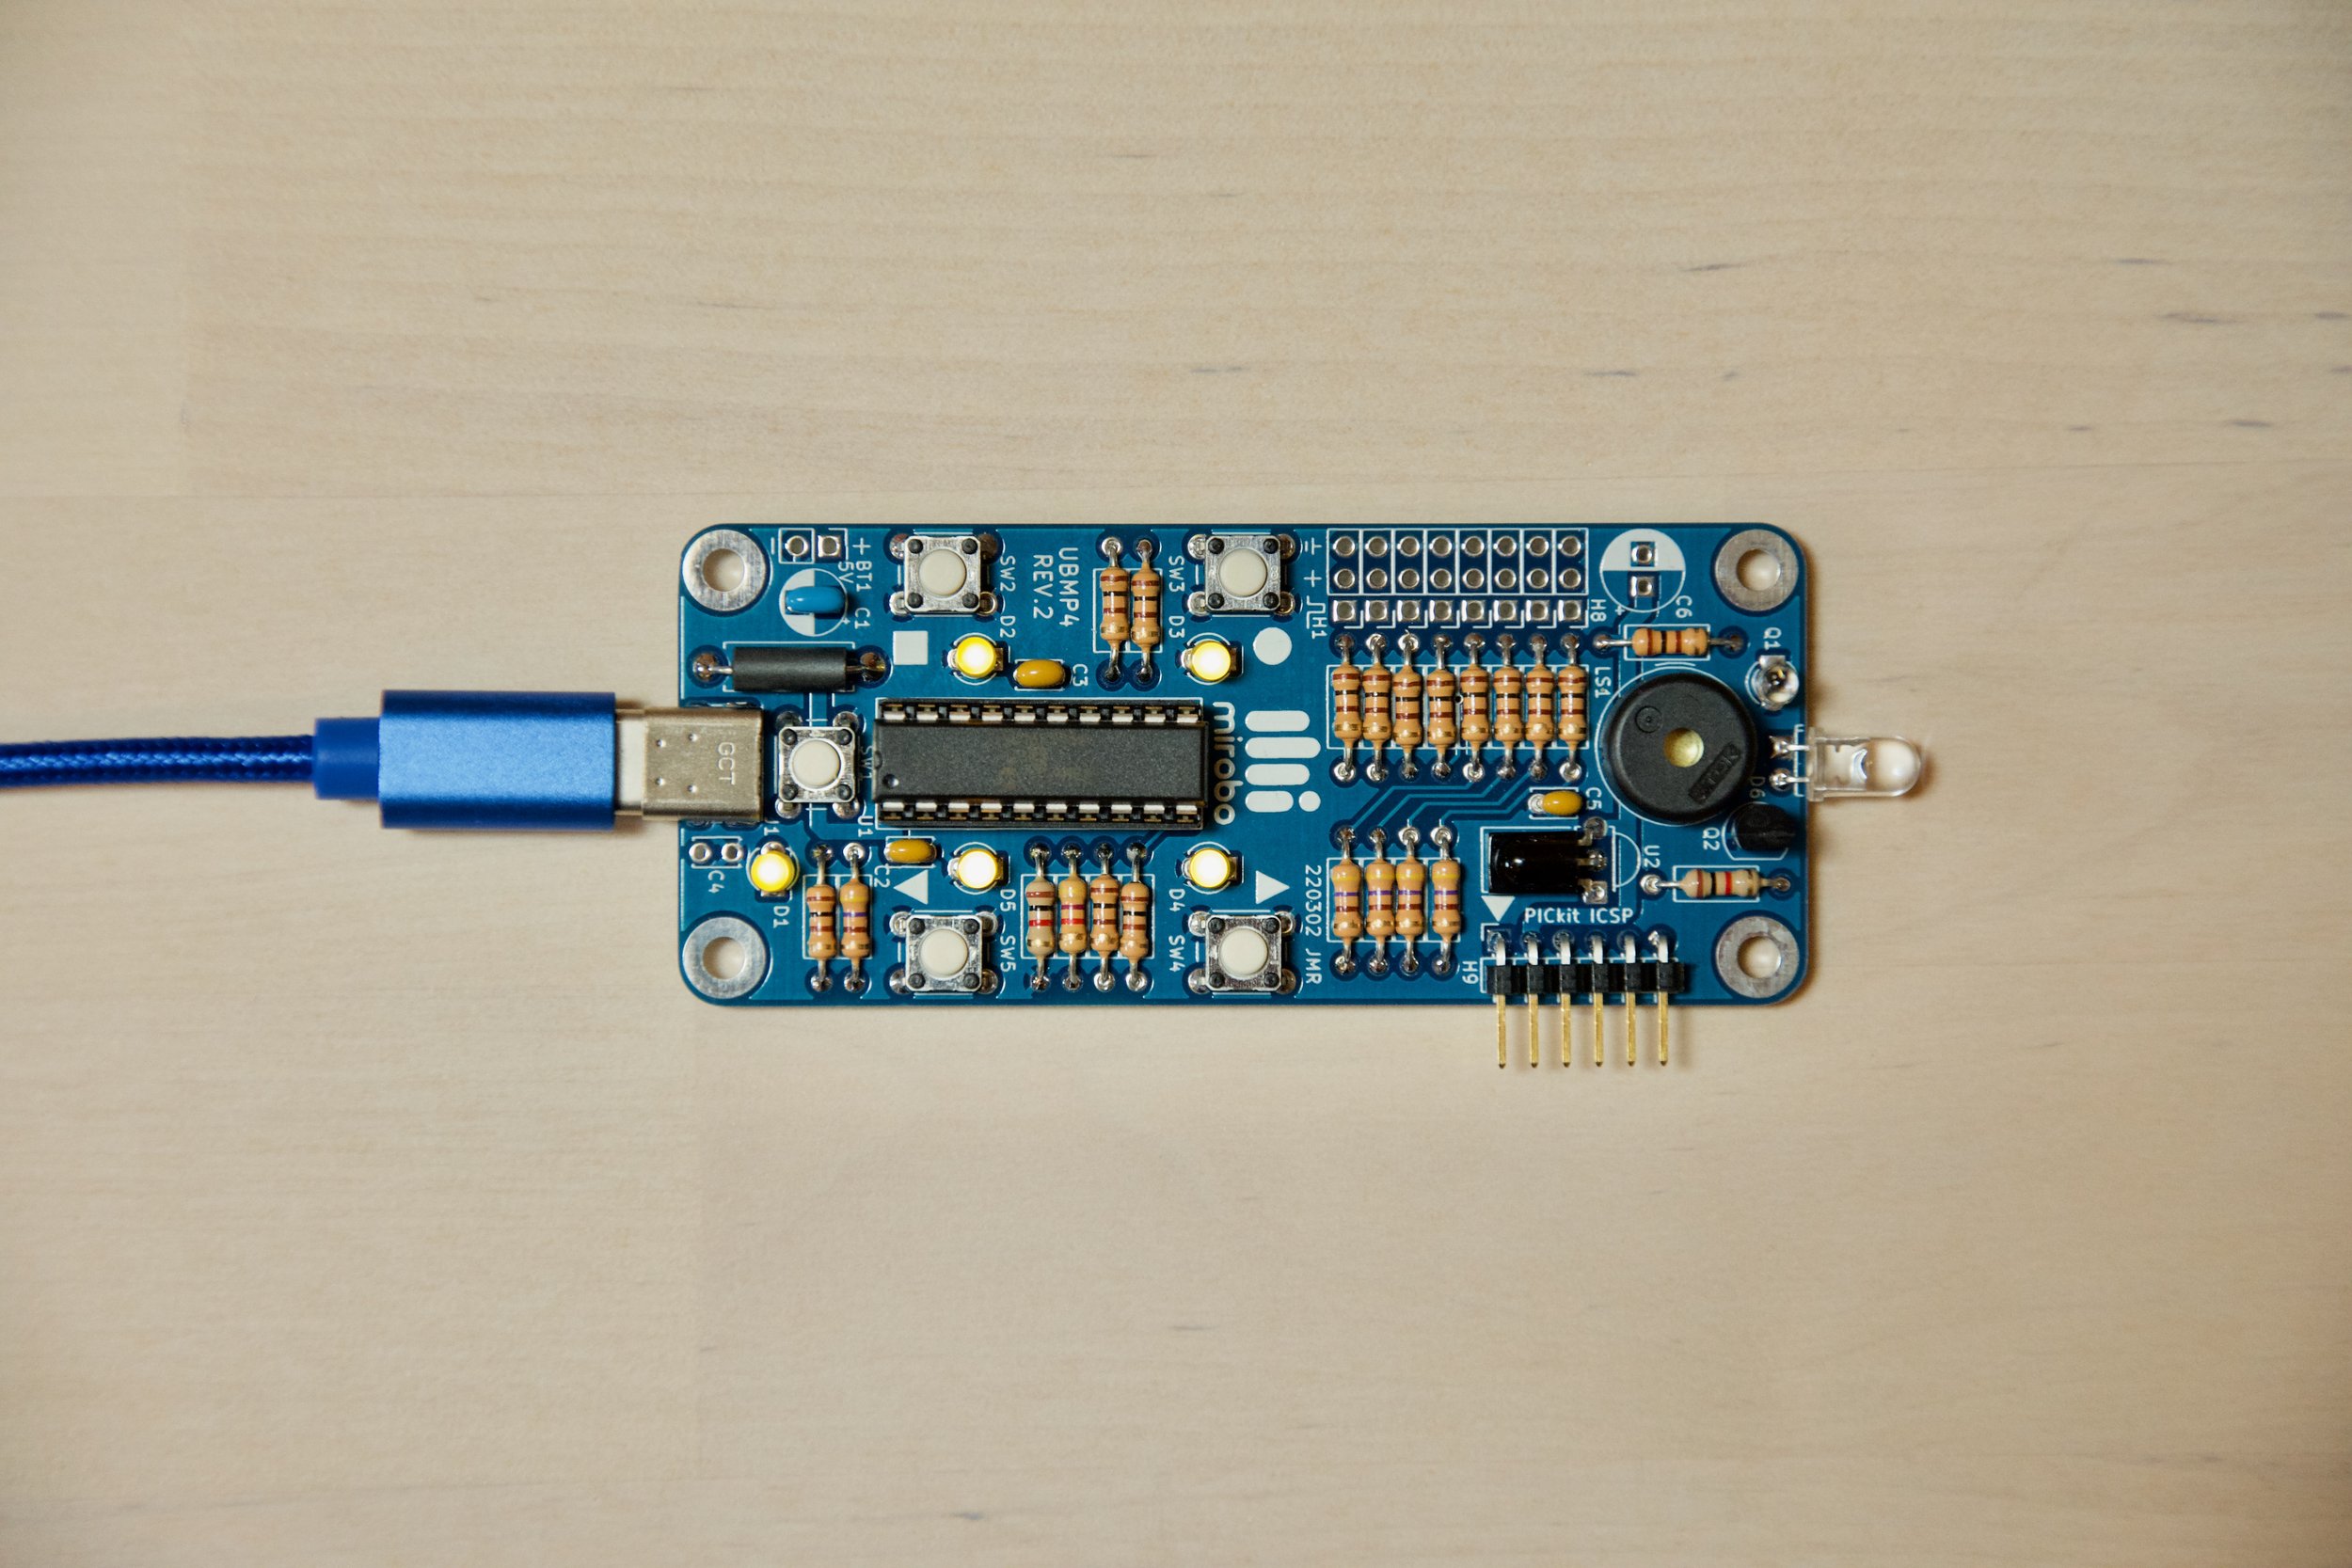
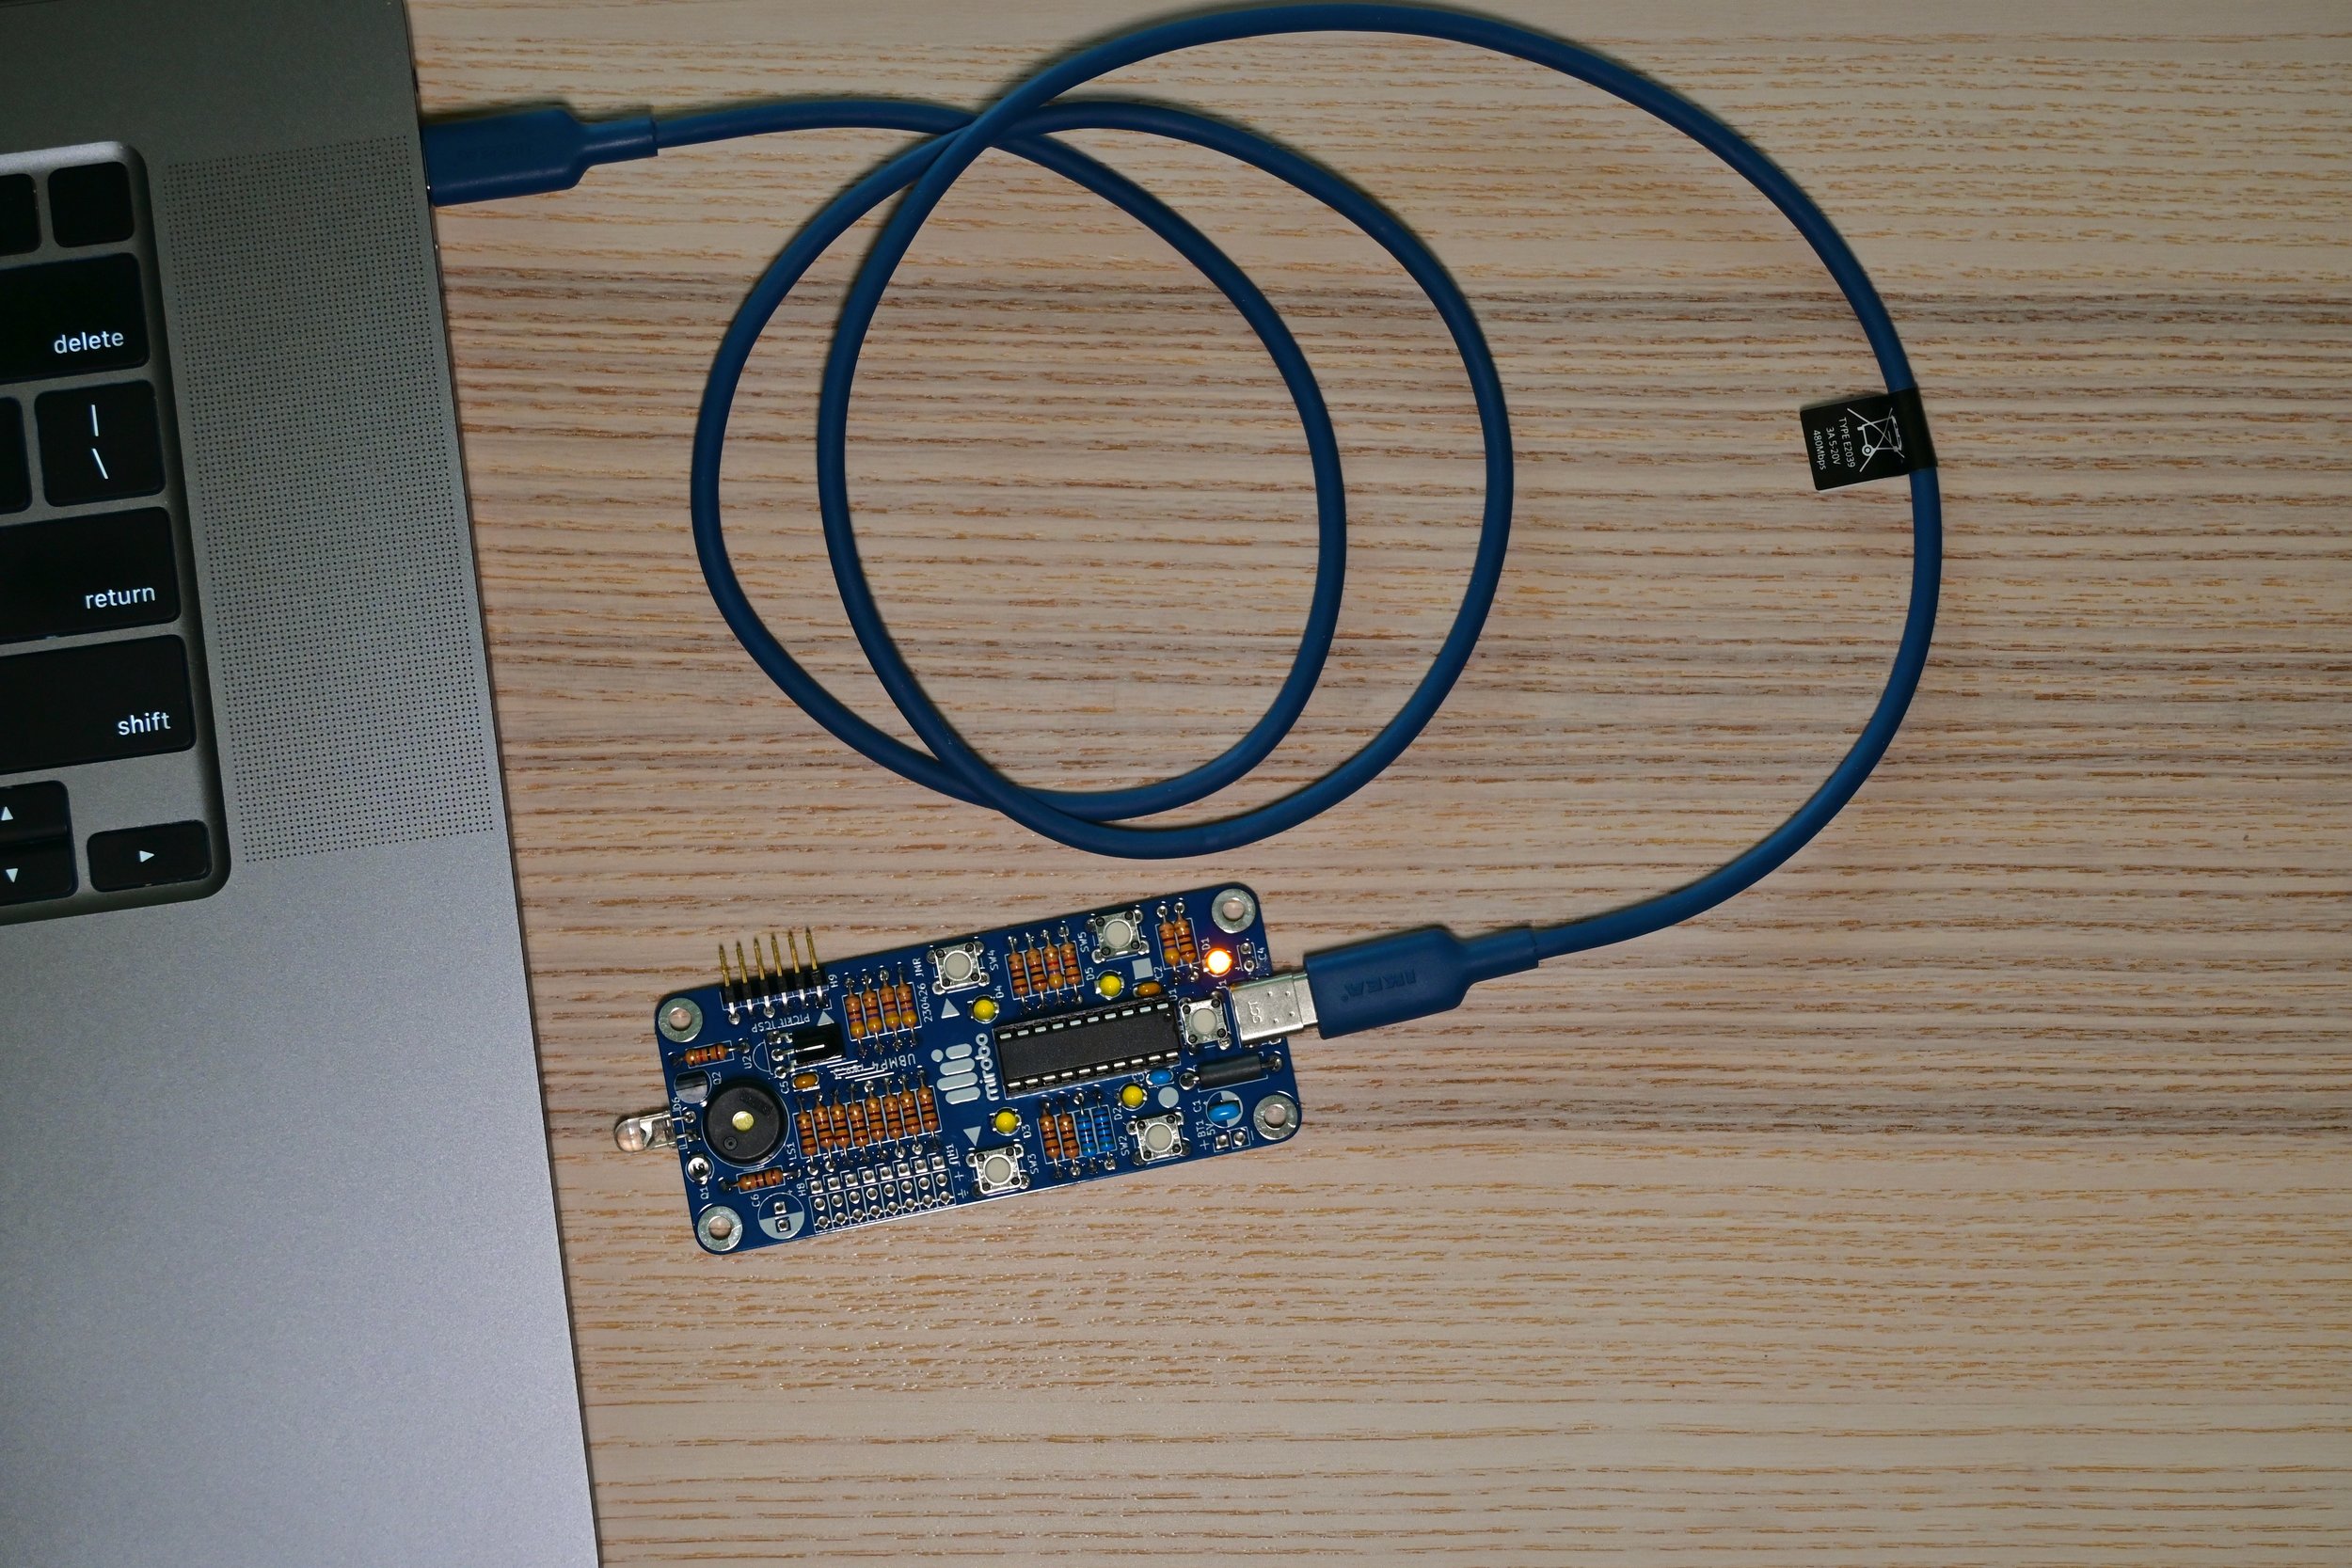
Only a USB cable is required to program UBMP4 using a bootloader.
Bootloader programs remain resident in the microcontroller after programming, which makes it easy to re-program the circuit as often as required – without ever needing the use of a hardware programmer. The ability of bootloaders to remain in the the microcontroller’s memory and enable programming using just a simple and inexpensive USB cable are the reasons they are the ideal solution for hobbyist and educational programming applications.
This activity describes the operation of the USB µC bootloader for the PIC16F1459 microcontroller used in the CHRP4 and UBMP4 circuits. This bootloader enables the microcontroller to appear as a USB mass storage device and allows the microcontroller to be programmed using a wide variety of devices and operating systems.
How does a bootloader work?
A bootloader program needs to simultaneously do two seemingly opposite tasks: it needs to run when required to facilitate programming or reprogramming a microcontroller with a user’s program, and it needs to allow a user’s program to run without interfering with its normal operation. On top of this, it has to do both while sharing the microcontroller’s limited memory with the user’s program.
To help it accomplish the first two tasks, a bootloader typically installs a part of itself in a special memory location in the microcontroller known as the reset vector. The reset vector holds the first instruction of a program that will be run whenever a microcontroller is powered on, and by inserting itself into the reset vector the bootloader ensures it gets to run first – before the user’s program gets a chance to start. This is important as it enables the bootloader to control the start-up process.
When the bootloader program starts running in an otherwise blank microcontroller (with no user program previously installed), it first checks for a connection with a computer. If a computer is found, the bootloader announces its presence to the computer and awaits further actions. When the computer initiates the transfer of a valid microcontroller program to the bootloader, the bootloader receives the program’s machine code instructions and stores them in the EEPROM memory of the microcontroller. Once the program is completely uploaded, the bootloader exits and, as its last action, launches the user’s freshly-installed program. If something goes wrong during the programming process, the bootloader typically just resumes the wait for another valid program file.
When the bootloader program starts up in a previously programmed microcontroller, it quickly checks for some sort of programming command. The programming command can be a special message from a connected computer, or could be initiated by a hardware button on the circuit, or from a software-based instruction. If no programming command is immediately received, the bootloader exits and launches the user’s previously stored program. If a programming command is given, the bootloader waits for a new file to be uploaded over USB. The new program overwrites the old program in memory, and once it has been completely uploaded the bootloader will exit and launch the new program.
Relocating the program
There is one important change that has to be made inside the memory of a microcontroller before a bootloader can be used. Since the bootloader program needs to occupy the reset vector memory location that user programs are normally loaded into, the user’s program needs to be relocated to a different part of the microcontroller’s memory in order for the bootloader to properly function.
The user program cannot just be moved anywhere else in the microcontroller’s memory, since the bootloader also will need to know exactly where the program has been relocated to – both for the purposes of writing a new user program into memory, and for launching the user’s program when the bootloader exits. Relocating the user’s program can be accomplished by either using a special compiler directive in the program source code, or by manually or automatically changing the C compiler or linker settings within an IDE or a circuit’s programming software.
All of the mirobo circuits that make use of the USB µC bootloader require the user to manually change the linker settings for their programs in the MPLAB IDE. The modifications made to the linker settings both mark the program memory required by the bootloader as being unavailable for the user program, and also move the user program’s starting memory address to a new program memory location that is the expected location known to the bootloader. The specific details of any required bootloader memory settings are typically provided in the bootloader program code, or in its documentation. The first programming activities for CHRP4 and UBMP4 will lead you though the configuration of their linker settings to support the USB µC bootloader.
Programming terminology
Programmer - a hardware device used for uploading a user program into the memory of a microcontroller.
Bootloader - a small program running inside the microcontroller that can be used to load a user program into the microcontroller.
Compiler - a computer program used to convert source code into object code, or into the machine code that will run in the microcontroller.
Linker - a computer program that runs in conjunction with a compiler to link several separate program object code files into one program.
EEPROM - (Electrically Erasable Programmable Read Only Memory) - electrically re-writeable permanent memory often used to store the program in a microcontroller. Commonly known as Flash memory.
Reset vector - The address of the memory location inside a microcontroller holding the first instruction to run after the microcontroller is reset or powered-on.
Object code - a compiled file containing the machine code instructions designed to run in a microprocessor. PICmicro object code files have a .hex extension.
Using the USB µC bootloader
Using a bootloader makes the process of programming a microcontroller quick and easy. The USB µC bootloader used by mirobo circuits is especially convenient as it enables the device to act as an external drive or mass storage device. Once the drive representing the circuit is mounted in the computer’s file manager, users simply drag and drop a program’s compiled .hex object code file onto the the circuit’s virtual drive to program it. The program uploads nearly instantly – typically in less than a second for almost all of the programs on this site – and the program starts to run immediately after uploading is complete.
All CHRP4 and UBMP4 kits come with their PIC16F1459 microcontroller pre-programmed with the USB µC bootloader. If you purchased a bare circuit board without a pre-programmed microcontroller, manufactured your own CHRP4 or UBMP4 circuit board, or just want to use the USB µC bootloader in your own PIC16F1459 project, you will need have access to a stand-alone hardware programmer to pre-load the USB µC bootloader into your microcontroller before you can use it for uploading programs into your circuit.
Follow these steps to upload your program into CHPR4 or UBMP4 using the USB µC bootloader:
1 – Connect your circuit using USB
Caution: CHRP4 and UBMP4 have no built-in power isolation or protection circuits. Always disconnect any external battery or power supply before connecting your circuit to a computer for programming.
Connect your CHRP4 or UBMP4 circuit to your computer using either a USB 2.0 Type-C cable, or a USB 2.0 Type-A to Type-C cable, depending on the type of USB port on your computer. This is the same type of common and inexpensive cable used to power or charge many kinds of USB Type-C devices, and is sometimes referred to as a charge and sync cable.
Plugging a circuit board with an otherwise a blank microcontroller into a computer will automatically mount it as a storage device named PIC16F1459. The microcontroller is now ready for your program to be uploaded to it (see step 3, below).
Note: Pre-programmed microcontrollers shipped in CHRP4 and UBMP4 kits may not be blank, but instead may have a factory test program pre-installed. With a test program in the microcontroller’s memory, the bootloader will launch the test program on power up. To start the bootloader, you will need to enter programming mode.
2 – Press SW1 to enter programming mode
If your CHRP4 or UBMP4 does not mount in your computer’s filesystem and instead starts running a program after connecting to your computer’s USB port, simply press and momentarily hold SW1 – the pushbutton closest to the USB Type-C connector – until LED1 turns off, and then let go of the switch. LED1 will turn on when SW1 is released, and the circuit will be mounted in your computer’s file manager as storage device PIC16F1459. The microcontroller is now ready for your program to be uploaded into it, and you can do that in step 3.
The method used by most mirobo programs to launch the bootloader when switch SW1 is pressed is through a small conditional structure in the code that triggers a software reset in the microcontroller. When the microcontroller restarts, the bootloader detects the switch press and switches to programming mode instead of launching the user program.
If the SW1 reset code is accidentally removed from your program, or if the program flow either bypasses the SW1 check or is prevented from running the code by being stuck in an infinite loop, the bootloader will not be able to start and the user’s code will keep running. If this occurs, the bootloader can be forced to start manually.
2 (alternate) – Manually enter programming mode
In the event that pressing SW1 does not automatically mount your circuit on your computer, you can manually force the bootloader to enter programming mode by following these steps:
Unplug the USB cable to disconnect your circuit from your computer, and ensure your circuit is powered off and any other power source is disconnected.
Press and hold pushbutton SW1 and plug in the USB cable while holding SW1. LED D1 will stay off while SW1 is held.
Release pushbutton SW1. LED D1 will turn on and the circuit will mount as drive PIC16F1459 on your computer.
The circuit is now in programming mode and ready to have a new program loaded into it using the bootloader.
3 – Drag and drop your program file onto drive PIC16F1459
If you used the MPLAB X IDE to successfully build your program, locate the compiled .hex object file in its project folder on your computer. The .hex file will be located either in the project’s /dist/free/production, or /dist/default/production folder, depending on the compiler installed.
If you used the MPLAB Xpress cloud-based IDE, you must ensure that you build the program for download. After compiling in the cloud, the .hex object file will automatically be downloaded to your computer’s default downloads folder.
In your computer’s file manager, drag the .hex object file from its production or downloads folder and drop it onto the PIC16F1459 drive to upload it into the microcontroller. Immediately after the file is uploaded, the PIC16F1459 drive will disconnect itself from the computer and your program will start to run.
If the program does not start running, or if the PIC16F1459 drive remains connected after uploading, something has gone wrong in the upload process. This behaviour typically indicates an mis-configuration of the linker settings or a problem with the program’s memory settings. See the instructions in the MPLAB activities to configure the linker and memory settings for use with the USB µC bootloader.
After your program has been successfully uploaded to your CHRP4 or UBMP4, it will automatically start running every time it is powered up without SW1 being pressed. Pressing and releasing SW1 when running any of the introductory activities will re-enable programming mode allowing you to reprogram your circuit.
You can copy the SW1 reset code from the introductory activities to enable the bootloader in your own programs, or create your own code to trigger the microcontroller reset that launches the bootloader. Either method will make reprogramming your circuit quick and easy!


