
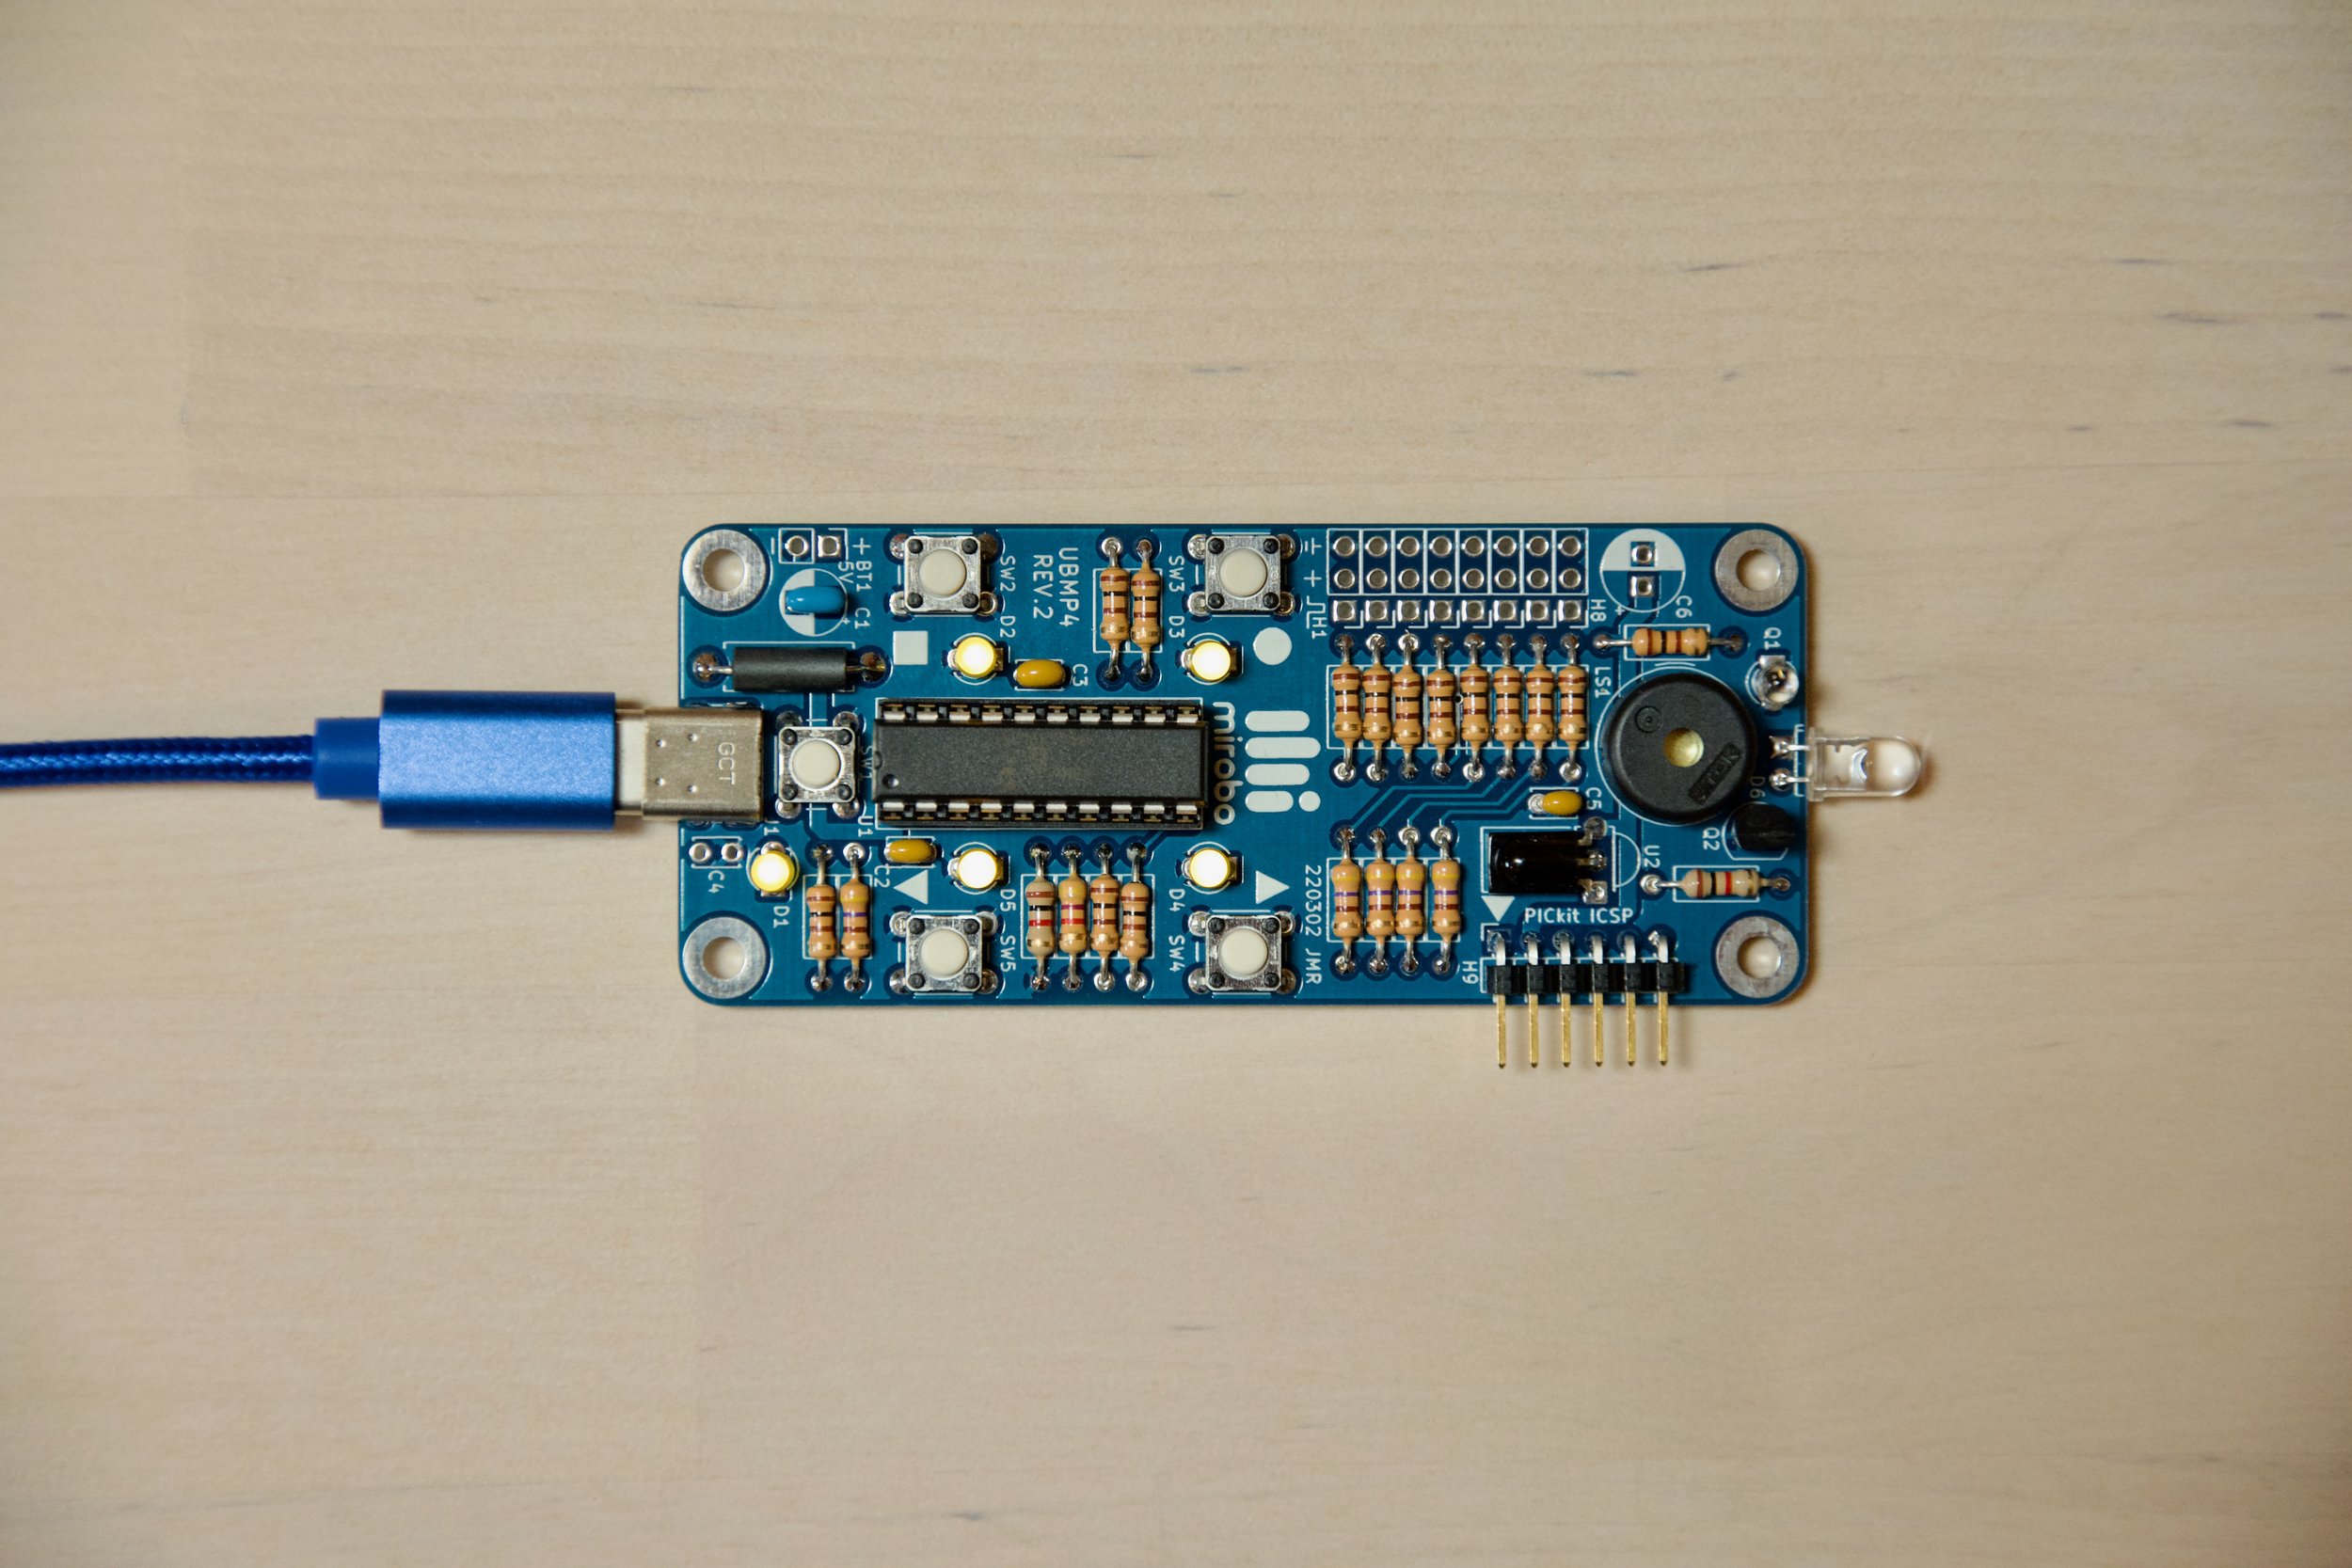
UBMP4 Introductory Programming Activity 3
Loops
The variables program in Activity 2 introduced different types of variables. Variables are used to hold values that can be modified by a program. Combining the ability of variables to store data with conditional statements (such as those in the first activity) allows programmers use the value of the variable to decide if a block of code should run, creating one of the most useful structures in programming – the loop.
Infinite, or finite?
The programs in the previous activities have already demonstrated the operation of infinite loops. Infinite loops continue forever (or, in UBMP4, at least until the reset button is pressed), usually without conditions. The while(1) loop in the main( ) program function of this and the other introductory programs is an example of an infinite loop.
Alternatively, finite loops run only while a condition is true, or until a condition is met. Finite loops are used to repeat blocks of code within the main infinite loop. This is similar to, but different from the if-conditions already in our programs – code in the if-conditions runs only once when the condition is true, while code in a loop continues to repeat while the condition is true.
Finite loop anatomy
Three separate code structures are required to make code repeat in a finite loop:
a statement which initializes a variable with a starting value for the loop counter;
a conditional statement to compare the value of the variable to a constant (or another variable) to decide whether to repeat the code in the loop, and;
and a method of modifying the variable during every successive cycle of the loop.
In this program, we will explore different ways of creating finite loops using both while( ) and for( ) loop structures in a program that makes PWM (pulse-width modulated) waves to control the brightness of an LED.
Pulse-width Modulation, or PWM
PWM is a technique commonly employed by circuits to change the brightness of lights or to control the speed of electric motors. PWM works by rapidly pulsing an output device on and off for different relative amounts of time, varying the average energy provided to the device. If the pulse frequency is high enough, the effects of the individual pulses won’t be noticed. That is, observers wouldn’t be able to see individual flashes of light if an LED is pulsed on and off hundreds of times per second, but they will be able to see changes in the brightness of the LED based on its duty cycle – the ratio of its on-time to off-time.
New Concepts
Loops are used to repeat blocks of code. Here are some of the concepts you will learn about in this activity:
finite loop - a loop that repeats while a condition is true, or until a condition is met
infinite loop - a loop that repeats forever. The main( ) function in microcontroller programs is usually an infinite loop.
loop condition - a conditional statement, similar to an if statement, that determines whether the program will continue into or exit the loop
accumulator, or loop index counter - a variable initialized to the starting value of a loop and modified during the execution of the loop until an ending value is reached
PWM (pulse-width modulation) - a system of varying the on and/or off times of repetitive pulses commonly used to represent an equivalent analogue value
duty cycle - the ratio of the on and off durations of PWM pulses
The main program
This program uses a finite loop to generate a PWM wave used to control the brightness of an LED. You will be able to modify the program to explore how both while- and for-loops can accomplish the same task.
Download the Intro-3-Loops program files (.zip) to create the MPLAB project for this activity, or import the files into MPLAB from its Github repository. Let’s examine the contents of the main file, Intro-3-Loops.c, below:
/*==============================================================================
 Project: Intro-3-Loops                 Activity: mirobo.tech/ubmp4-intro-3
 Date:    May 9, 2023

 This introductory programming activity for the mirobo.tech UBMP4 demonstrates
 the use of both while-loop and for-loop structures to change the brightness
 of an LED using PWM (Pulse-Width Modulation).

 Additional program analysis and programming activities reinforce the concepts
 of limits using conditional statements, challenge the learner's understanding
 of program structure and flow, and expand the use of loops to create different
 pitches of tones and audio frequency sweeps.
==============================================================================*/

#include    "xc.h"              // Microchip XC8 compiler include file
#include    "stdint.h"          // Include integer definitions
#include    "stdbool.h"         // Include Boolean (true/false) definitions

#include    "UBMP420.h"         // Include UBMP4.2 constants and functions

// TODO Set linker ROM ranges to 'default,-0-7FF' under "Memory model" pull-down.
// TODO Set linker code offset to '800' under "Additional options" pull-down.

// Program variable definitions
unsigned char pwmLED3 = 127;    // LED3 brightness (PWM on-time) value
unsigned char pwmPeriod;        // Counter for PWM generation loop
unsigned int period = 460;      // Sound period for program analysis activities

int main(void)
{
    OSC_config();               // Configure internal oscillator for 48 MHz
    UBMP4_config();             // Configure on-board UBMP4 I/O devices

    while(1)
	{
        // Decrease brightness
        if(SW2 == 0)
        {
            pwmLED3 -= 1;
        }

        // Increase brightness
        if(SW3 == 0)
        {
            pwmLED3 += 1;
        }

        // PWM LED3 brightness
        pwmPeriod = 255;
        while(pwmPeriod != 0)
        {
            if(pwmLED3 == pwmPeriod)
            {
                LED3 = 1;
            }
            pwmPeriod --;
            __delay_us(20);
        }
        LED3 = 0;

        // Activate bootloader if SW1 is pressed.
        if(SW1 == 0)
        {
            RESET();
        }
    }
}
Program Operation
The top of the program should now be starting to become familiar: comments describing the program, one or more include statements for the compiler, some variable and constant definitions for defining values that will be used in the program, followed by the main( ) program function that identifies the start of all of the program code – including the main while( ) loop, which is an infinite loop that will run forever.
Inside the while( ) loop are two simple conditions which will be used to increment and decrement the pwmLED3 variable, which will represent our PWM on-value (pwmLED3 stands for time, On, of LED3 ).
The next block of code uses the value of pwmLED3 to create a PWM wave controlling LED3’s brightness using a finite loop structure. Let’s explore how that is done.
PWM while loop
        // PWM LED3 brightness
        pwmPeriod = 255;
        while(pwmPeriod != 0)
        {
            if(pwmLED3 == pwmPeriod)
            {
                LED3 = 1;
            }
            pwmPeriod --;
            __delay_us(20);
        }
        LED3 = 0;
The PWM code starts before the while loop by setting the pwmPeriod variable to 255, the highest number that can be encoded an 8-bit character. The pwmPeriod variable will be used to count the number times this loop will repeat.
The decision of whether or not to repeat the loop is made by the condition in the while statement, which will repeat the statements within the loop while pwmPeriod is not equal ( != ) to zero. Since pwmPeriod was initially set to 255 – which is definitely not zero – we know the loop contents will run at least this one time.
Inside the loop, the value of the pwmPeriod variable and pwmLED3 variable are compared. If they’re equal, LED3 will be turned on. Since pwmLED3 was previously set to 127, and would only have changed by 1 if either SW2 or SW3 was pressed (making pwmLED3 either 126 or 128), LED3 will stay off during this first cycle through the loop.
Next, the statement pwmPeriod --; modifies the loop variable by subtracting 1 to make it 254, and is followed by a 20 µs delay. After the delay, the closing brace of the while loop on the next line causes the program to return to the start of this inner while loop structure to re-evaluate the pwmPeriod count. The loop will repeat until the pwmPeriod variable is zero. Since the pwmPeriod variable reduced by 1 every time through the loop, we know that the contents of this loop will be repeated 255 times.
Now that we understand the loop’s operation, how does this actually translate into a PWM wave to change the LED’s brightness? To understand that, we need to remember that running each line of code in this loop takes a small, but measurable amount of time. In addition to the time taken running each of the individual instructions, the included delay statement adds an even greater amount of time.
Ok, so we now know it takes some amount of time to run the code in the loop, once. And we know that the loop will run 255 times. Some of the time spent running through the loop’s 255 cycles will be with the LED off, and, once pwmLED3’s value is equal to the pwmPeriod counter, the rest of the time in the loop will be spent with the LED turned on. The higher the value of pwmLED3, the more loop cycles LED3 will be on for, and the more time LED3 is on, as opposed to off, the brighter it will appear. LED3’s brightness is controlled by the ratio of its on-time to its off-time. And, because the microcontroller can cycle through the loops so fast, the LED never appears to flash on and off, or flicker.
Learn more – program analysis activities
Did you build and run the program? Pressing either button should repeatedly brighten or dim the LED. What effect do you think changing the time delay in the line __delay_us(20); have? Will it change the LED brightness, or the responsiveness of the buttons, or both? Try to change the delay and observe what happens as you press and hold the buttons (try 1µs, or 100µs, for example).
Pressing and holding either button will repeatedly cycle through the brightness range. Why is that? Do you remember how numbers are represented in computers? The pwmLED3 variable is an unsigned character, with a range of 0 to 255. Incrementing pwmLED3 past 255 results in it resetting to 0. Similarly, decrementing the variable below 0 results in it counting down from 255. How could the value of pwmLED3 be made to stop either at the brightest or dimmest setting, without exceeding the thresholds 0 or 255?
PWM for loop
An alternative method of creating this PWM program is by using a for-loop structure instead of the while-loop. Replace the while loop code in the program with the for loop code, below:
        // PWM LED3 brightness
        for(unsigned char pwmPeriod = 255; pwmPeriod != 0; pwmPeriod --)
        {
            if(pwmLED3 == pwmPeriod)
            {
                LED3 = 1;
            }
            __delay_us(20);
        }
        LED3 = 0;
Let’s look at the fundamental differences between while and for loops, the for initialization statement. The for loop’s initialization statement contains operations to define and initialize the loop counter variable, the conditional statement that determines when the loop will end, and the loop variable modifier.
All three of these operations are necessary parts of a loop structure and mirror the separate statements that accomplish the same results in the while loop. But, all three are combined into one statement, separated by semi-colons, in the for loop. This makes the for loop code more compact than the while loop.
For, or while, or for a while?
Given that the for loop structure is more condensed than the while loop, you might wonder why while loops are even used. While loops have two advantages over for loops. First, while loop conditions can be tied to non-numeric events instead of just the state of the loop counter. A while loop can be made to repeat while a button is held, for example. The second advantage is that it’s easy to modify the amount by which the loop counter variable changes during the execution of the loop, whereas the for loop initialization statement sets the amount by which the loop variable changes.
In general, if the number of required loops is known ahead of time, a for loop results in more compact code. If the loop needs to run an arbitrary number of times, or based on factors external to the loop, or the loop rate needs to be modified while in the loop, a while loop is the solution.
Hard conditions are faster
Another important consideration when programming the relatively slow and simple PIC microcontrollers is that hard conditional comparisons, such as comparing for equality or inequality, run faster than soft conditional comparisons, such as ‘less than or equal to’. In most mid-range PICmicro microcontrollers, specifically, there are no conditional operators in their machine code instructions (with the exception of a conditional check for a zero result). This means that the fastest loop is one that counts down to zero. All other types of loops will run more slowly. For example, both of the loops below will run 10 times, but the first example will run faster:
// Fast loop code counts down to zero
for(counter = 10; counter != 0; counter --)
{
  ...
}

// Loop code that counts up to an arbitrary value runs slower
for(counter = 0; counter < 10; counter ++)
{
  ...
}
In most practical applications, the difference between the two approaches will in all likelihood be insignificant because of delays present in other sections of the program code. But, when optimizing a loop for the highest performance, remember that this technique of coding with a hard condition can help.
Global and local variables
The while-loop sets the global pwmPeriod variable originally defined (but not initialized with a value) at the top of the program. The initialization statement of the for-loop also sets a pwmPeriod variable, but this one is local to the for-loop and not the same as the global pwmPeriod variable. As you can imagine, having two variables with the same name but different values can lead to potential misunderstandings and problems for the programmer, so it’s best to avoid re-using global variables in for-loops.
How do we know this is actually the case? We can use the debugging technique introduced in Activity 2, namely debugging using the on-board LEDs. Start by adding this expression above the for-loop:
pwmPeriod = 128;
This statement will set the value of the global pwmPeriod variable to 128. During the operation of the for-loop structure that follows, the local pwmPeriod variable will iterate through the range of values from 255 down to 0. When the for-loop finishes, the value of the local pwmPeriod variable will be zero. If the variables are the same, pwmPeriod would now be zero, not 128. We can verify its value is still 128 by adding this code following the end of the for-loop:
        if(pwmPeriod == 128)
        {
            LED4 = 1;
        }
        else
        {
            LED4 = 0;
        }
Since this if-structure is outside of the for-loop, it will read the global pwmPeriod variable and will light LED4 if the value is still 128, as it was set before the loop. Try it in your code to verify that the two pwmPeriod variables are actually different.
Time delay loops
Since loops repeat code, another popular use of loops is to create time delays by repeating blocks of code. This is especially useful in MPLAB as loops can repeat the delay code a variable number of times, while Microchip’s built-in __delay_ms( ) and __delay_us( ) functions can only use constants to make a fixed delay. By combining the built-in fixed delay with a loop, a variable time delay structure can be made:
        // Variable ms time delay - wait for delayTime value in ms
        for(unsigned int delay = delayTime; delay != 0; delay --)
        {
            __delay_ms(1);
        }
In this example, the variable delayTime can be set by your code for the required time delay, and the loop will create a delay of approximately that length of time in milliseconds by repeating the fixed millisecond delay.
Time delay loops without delay_ms functions
The process of repeating code instructions in a loop takes a certain amount of time, even when there is not a time delay function inside the loop. You can demonstrate this for yourself by adding the code, below, to your program:
        // Change pitch
        if(SW4 == 0)
        {
            period -= 1;
        }

        if(SW5 == 0)
        {
            period += 1;
        }

        // Make a tone
        for(unsigned char cycles = 50; cycles != 0; cycles--)
        {
            BEEPER = !BEEPER;
            for(unsigned int p = period; p != 0; p--);
        }
The section under the // Make a tone comment is composed of two nested for loops: the outside loop always repeats the inside loop 50 times, and the inside loop counts the period variable down to zero (after making a copy of it in the variable p, so that the original value of the period variable will not be changed). Running this inner loop is like asking your friend to count backwards from a specific number – the higher the number, the longer it will take them to count down. In this case, the microcontroller is doing the counting instead of your friend, and even though the microcontroller is faster at counting than your friend, it still takes a certain amount of time to count down, and the time varies by the number of counts it has to perform. In this case, instead of watching for a change of brightness on an LED, you can hear the effect of the count using the piezo beeper!
Activity 3 learning summary
Pulse width modulation is an effective (and electrically efficient) way to control the brightness of an LED, or the speed of a motor. PWM is often created using a software loop structure to make delays for the on and off times of the PWM wave.
Loops can be made using a while-loop structure, containing separate variable assignment, condition, and modifier statements, or by using a for-loop structure with an initialization statement combining all three actions. For loops are best used when the number of loop cycles is known, and while loops provide the flexibility to repeat code based on events or variables outside of the loop itself.
The initialization statement of a for-loop includes a variable definition. Be aware that the value of any variables defined in a for-loop are local to the loop and not available in the main code outside of the loop.
Programming Activity 3 Challenges
1. Pressing and holding SW2 or SW3 causes the brightness of LED D3 to repeatedly cycle through its entire brightness range because the pwmLED3 variable is allowed to either overflow, or underflow.
Modify your program code so that pressing and holding SW2 will dim the LED until it is off, and keep if off, and pressing and holding SW3 will brighten the LED until it reaches its maximum brightness, and maintain that brightness while the button is held.
2. Modify your program to control the brightness of two different LEDs simultaneously. Add code to control LED D4 using SW4 and SW5 while continuing to use SW3 and SW2 to control LED D3.
Hint: To ensure each LED can reach its maximum brightness -- or 100% PWM on-time -- you'll have to perform the PWM functions for both LEDs within the same loop. You can view the resulting PWM wave if you have access to an oscilloscope. If not, you can ensure your LEDs reach full brightness by lighting LED2 and LED5 at the start of your program and comparing their brightness to LED D3 and LED D4.
3. Rather than having lights suddenly turn on at full brightness or motors turn on at full power, create a program that uses a for loop and your PWM code to make a 'soft-start' program that slowly increases the PWM on-time when a button is pressed. Can you also turn it off in a similar way?
4. Make a program that creates a repeated, visual 'pulse', by continuously brightening and dimming one or more LEDs.
5. Make a 'chirp' or 'pew-pew' sound effect by sweeping through a range of frequencies from low to high, or high to low when a button is pressed.